

Most heatless curls for short hair tutorials are filmed on waist-length hair, which is not helpful when your bob barely reaches your chin. Short hair needs smaller tools, tighter wraps, and realistic expectations about the result.
My honest opinion: overnight methods beat quick methods on short lengths almost every time. Short hair cools and sets fast, so giving it six to eight hours wrapped up is the closest thing to a guarantee. Skipping heat also means skipping some of the worst habits that damage hair.
Below are fifteen methods adapted specifically for bob length and shorter. Each one lists the tools, the time it takes, clear steps, and what to do when things go wrong. No heat, no damage, just curls. Once you have the curls down, style them with these cute everyday hairstyles.
1. Satin Headband Wrap for Heatless Curls for Short Hair

Tools: a stretchy satin headband, four to six bobby pins. Time: overnight, six to eight hours. Start with slightly damp hair and place the headband around your head like a crown. Take one-inch sections, twist each one, and tuck it up and over the band, pinning the ends flat so short pieces cannot spring loose.
In the morning, remove the pins and shake the curls out with your fingers. Troubleshooting: if the front pieces fall flat, they were probably wrapped too loosely, so twist them tighter and add an extra pin next time. If the back looks uneven, split the back into two sections instead of one so the wrap is symmetrical.
2. Short Hair Sock Curls

Tools: two to four clean socks, a light mousse. Time: overnight. This is the classic method shrunk down: use thin socks, not thick athletic ones, and work with one-inch sections. Wrap each section around the sock from ends to roots, then tie the sock ends together to hold it.
Troubleshooting: short layers slipping out is the main problem, so apply mousse before wrapping and tie the socks snugly at the scalp. If curls look lopsided, you likely used different section sizes, so keep every section the same width for an even result.
3. Flexi Rods for Heatless Curls for Short Hair
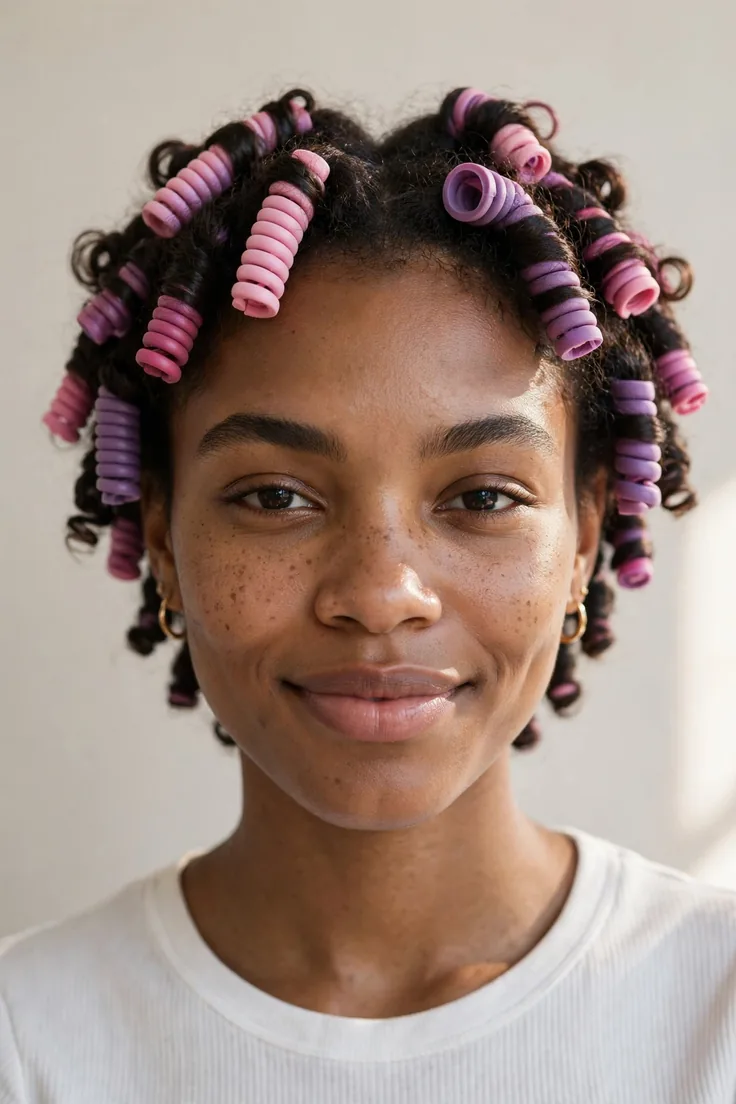
Tools: small flexi rods, about ten to twelve for a bob. Time: four to six hours or overnight. Bend each rod into a U, place a damp one-inch section at the end, and roll upward, then fold the rod to lock it. Small rods are non-negotiable on short hair; large ones just make waves that fall out.
Troubleshooting: if the curls drop within an hour, your hair was too dry when you rolled it, so mist each section lightly first. Frizz means you need a smoother finish, so add a drop of serum to each section before rolling.
4. Foam Rollers for Vintage Curls
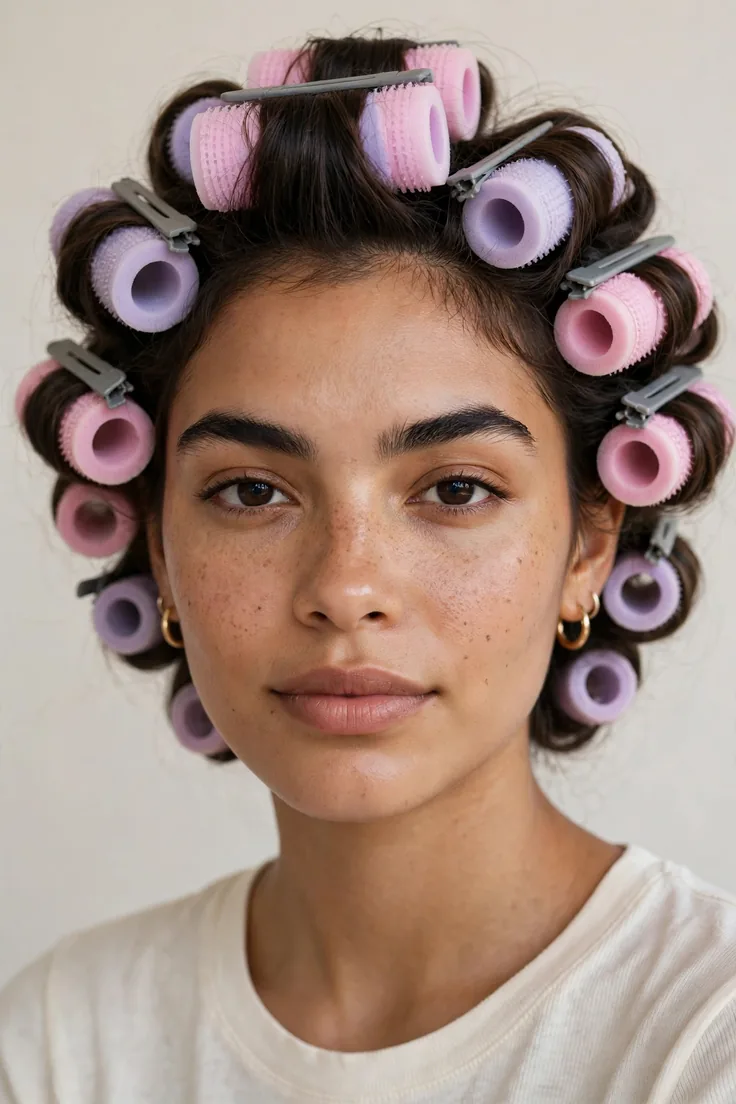
Tools: small foam rollers, setting lotion or mousse. Time: overnight. Roll damp sections away from your face for a classic shape, securing each roller with its clip or a pin. Short hair takes to foam rollers beautifully because the rollers are light enough not to pull.
Troubleshooting: dents from the clips are the classic complaint, so slide a small piece of tissue between the clip and the hair. If the curl is too tight and retro, brush it out gently with a paddle brush for a softer wave.
5. Pin Curls, the Old Hollywood Way to Heatless Curls for Short Hair

Tools: bobby pins, setting lotion, a silk scarf. Time: overnight. Take one-inch damp sections, twist each into a flat coil against your scalp, and pin it in an X shape. Cover with the scarf to keep everything flat while you sleep.
Troubleshooting: pins poking your scalp means you used too few pins per curl, so use two crossed pins for real hold. If the result is too uniform, alternate the direction of the coils for a more natural, modern finish.
6. Mini Bantu Knots
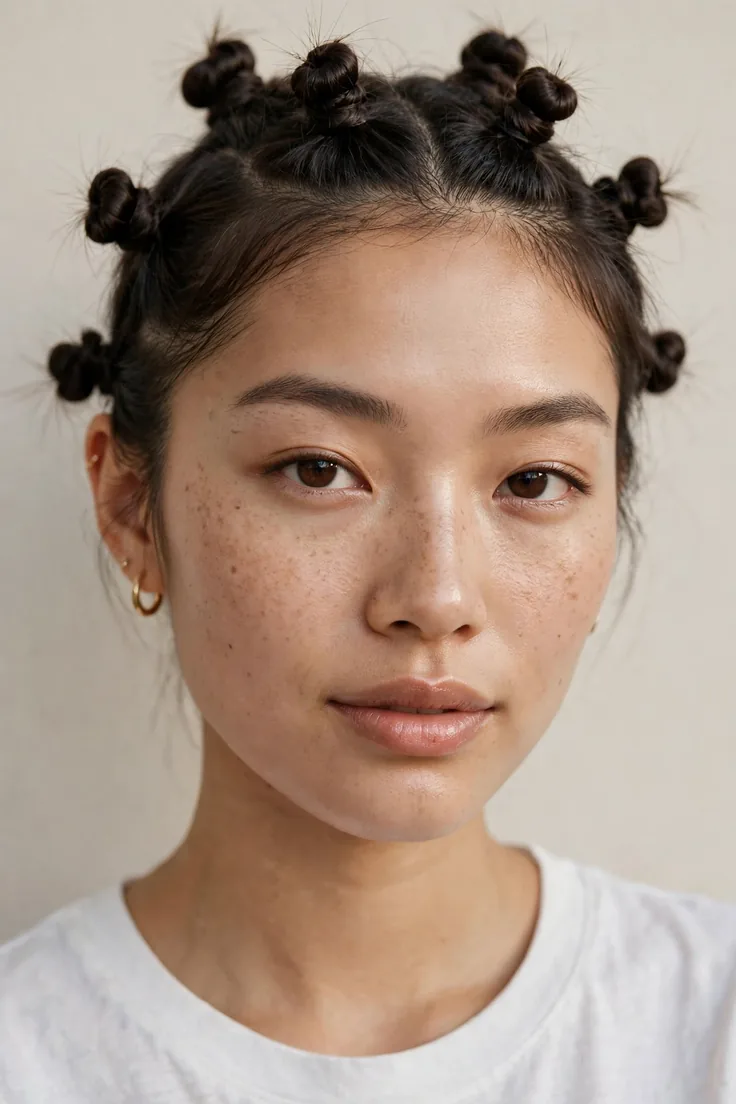
Tools: small elastics or bobby pins, curl cream. Time: four to eight hours. Divide damp hair into six to ten small sections, twist each section tightly, and coil it into a mini knot against the scalp. Smaller knots give tighter curls on short hair.
Troubleshooting: if the knots unravel overnight, your sections were too big, so make more, smaller knots. Puffy roots with flat ends means you coiled loosely at the ends, so twist the ends first, then coil.
7. Two-Strand Twist Braids

Tools: nothing but your fingers and a little gel. Time: three to five hours or overnight. Part damp hair into four to six sections, split each into two strands, and twist them around each other down the length. Pin the ends up since short twists will not hang.
Troubleshooting: if the twists look fuzzy, you twisted too loosely or your hair was too dry, so add gel and twist tighter. Uneven curl size just means uneven section sizes, so part carefully with a comb next time. Twists also make great standalone styles, so see these heat-free braided styles.
8. Straw Curls for Tight Ringlets
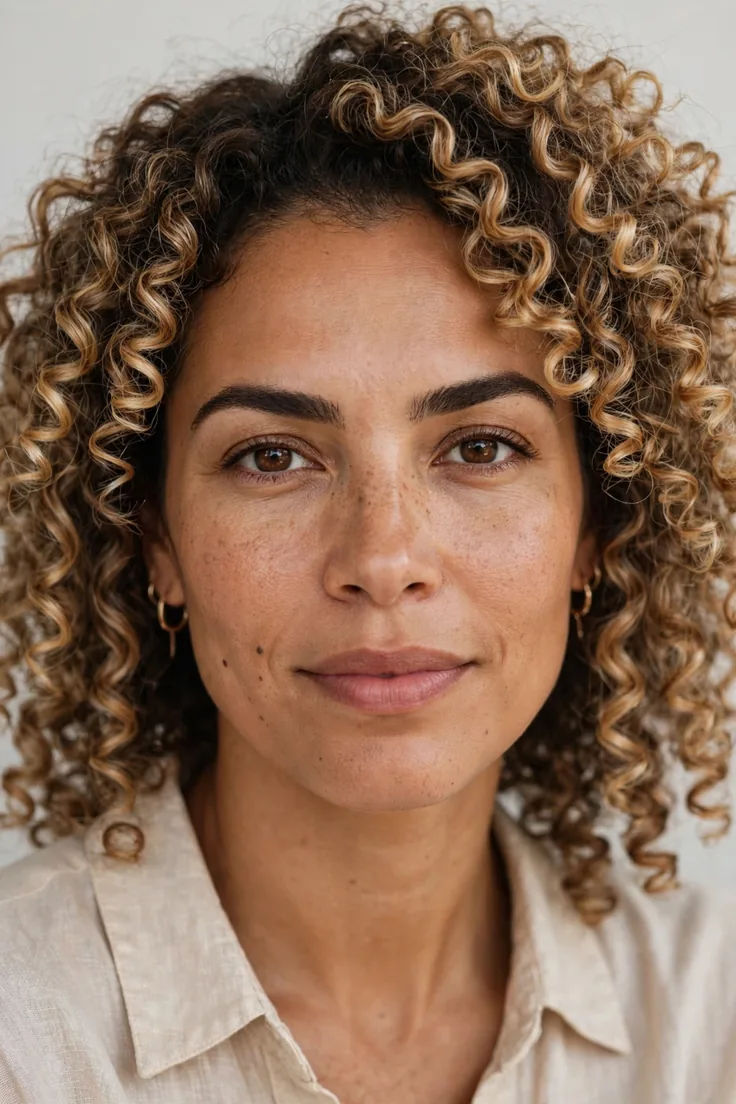
Tools: drinking straws, bobby pins, mousse. Time: overnight. Wrap small damp sections tightly around a straw from ends to roots and pin the straw flat to your scalp. This gives the tightest curl of any method here, true ringlets on short hair.
Troubleshooting: if ringlets separate into frizz, do not comb them, just separate the clumps gently with oiled fingers. If the curl will not hold, your sections were too thick for the straw, so halve the section size.
9. Scarf Wrap Wave Method

Tools: a long silk or satin scarf. Time: overnight. Lay the scarf flat, place damp hair across the center, and roll the scarf and hair together into a log, then tie the ends. Unroll in the morning for soft, loose waves.
Troubleshooting: short hair sliding out of the roll is common, so start the roll snugly at the ends and tie firmly. If the waves are too subtle, mist your hair damper before rolling, because barely damp hair will not set.
10. High Twist Bun for Loose Waves

Tools: a scrunchie, light mousse. Time: three to four hours or overnight. Gather damp hair into a high ponytail, twist the length, and coil it into a bun on top of your head. Even short bobs can usually manage a small topknot.
Troubleshooting: if the underneath stays straight, your bun was too loose, so twist tighter and make sure the under-layers are included in the coil. A visible bump at the crown means the scrunchie sat too tight, so loosen it one wrap.
11. Sponge Rollers Overnight for Heatless Curls for Short Hair
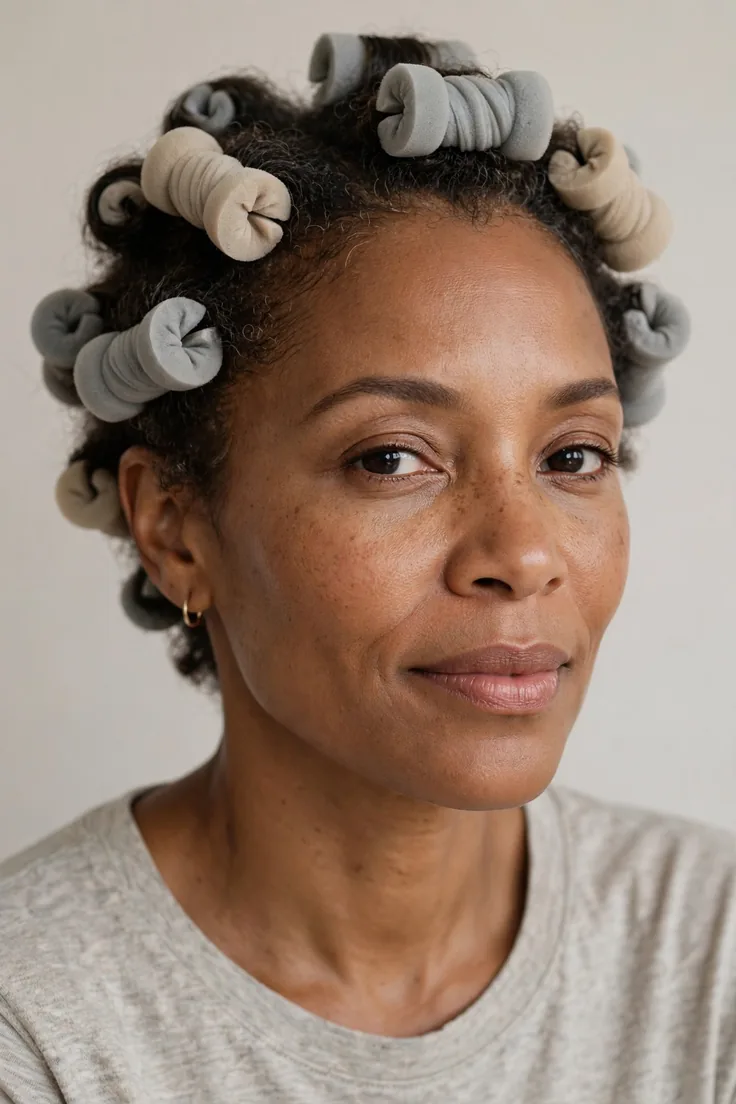
Tools: small sponge rollers. Time: overnight. These are the comfortable choice because you can actually sleep on them. Roll damp one-inch sections and snap the roller shut, keeping the rolls in neat rows for an even pattern.
Troubleshooting: flat spots where rollers pressed together mean you placed them too close, so leave a finger-width gap between rows. If curls fall by midday, finish with a light-hold hairspray, because short hair needs the extra insurance.
12. Paper Strip Curls
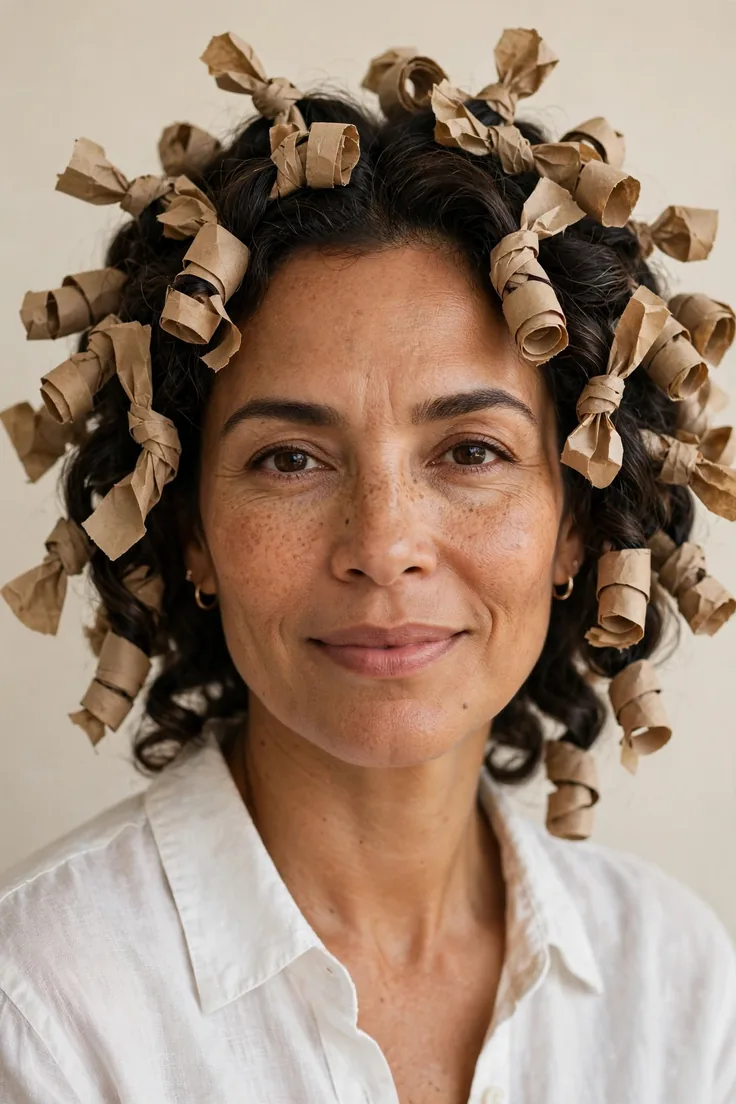
Tools: strips of paper bag or paper towel, mousse. Time: overnight. Wrap a damp section around a paper strip like a rag roller, then tie the strip in a knot to hold it. It sounds old fashioned because it is, and it works on the shortest layers.
Troubleshooting: paper tearing means it got too wet, so wring your hair to damp, not dripping, before wrapping. Knots slipping open overnight need a double knot, and place the knot close to the scalp so short ends stay wrapped.
13. Headband and Pin Secure Method

Tools: a thin fabric headband, bobby pins, mousse. Time: overnight. This is the fix for fine short hair that will not stay in a regular headband wrap. Place the headband, wrap each section over it, then pin every single wrap in place instead of trusting tension alone.
Troubleshooting: if curls still fall flat, the issue is usually product, so switch to a stronger mousse or add a little gel at the roots. Pin marks disappear if you remove pins slowly and fluff the roots with your fingers.
14. Finger Coils With Gel
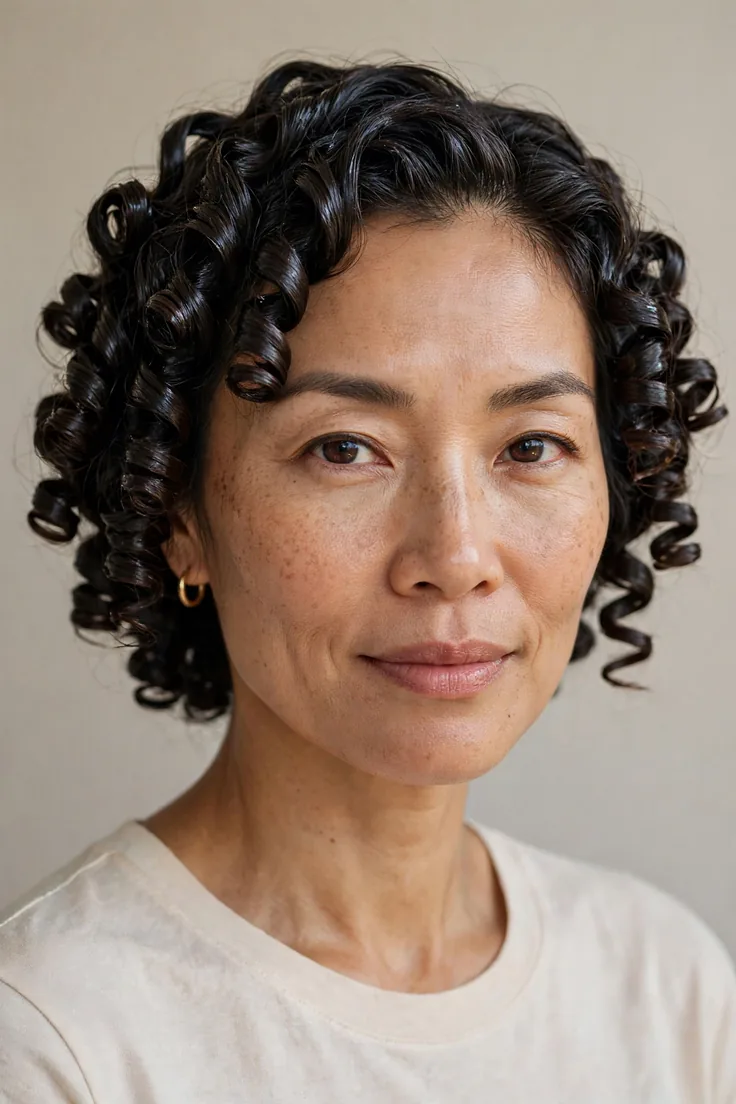
Tools: a strong-hold gel, a hooded dryer is optional. Time: one to two hours air drying. Take small damp sections, apply gel, and twirl each section tightly around your finger from roots to ends. Let them set completely before touching.
Troubleshooting: touching them while damp is the number one cause of frizz, so hands off until fully dry. If coils fall apart, you need more gel or smaller sections, because short hair needs both for the coil to hold its shape.
15. Scrunch and Plop for Heatless Curls for Short Hair
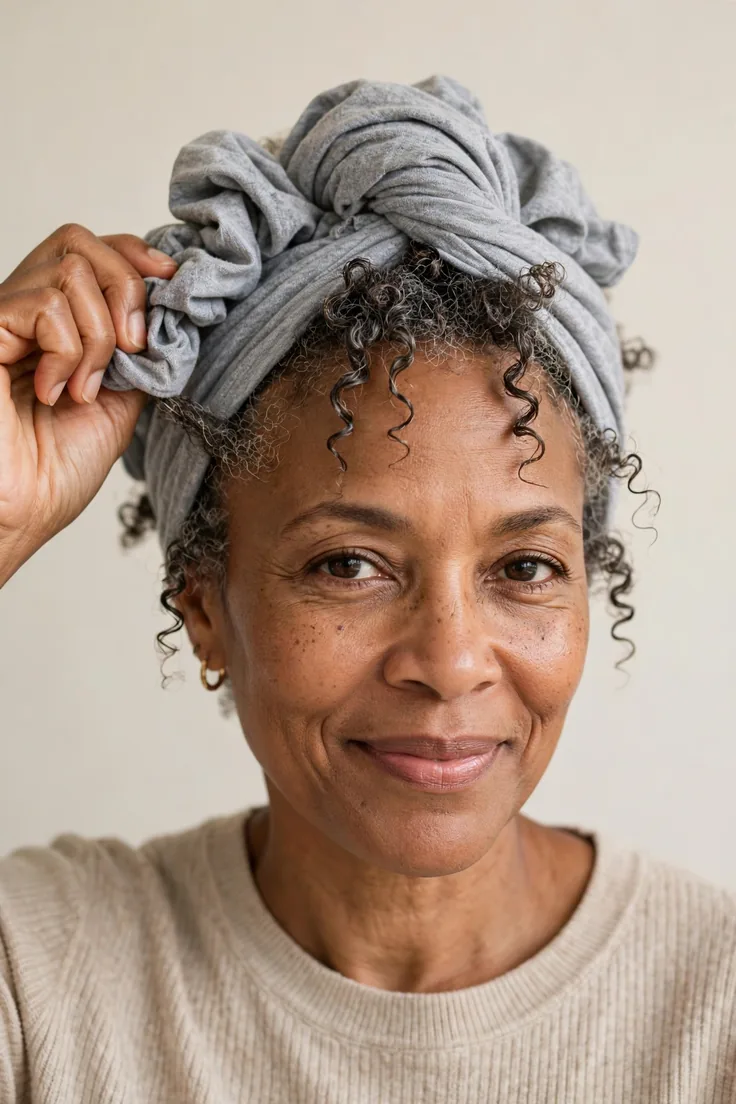
Tools: a cotton T-shirt, curl cream or mousse. Time: one to three hours. Apply product to damp hair, scrunch upward in handfuls, then lay the T-shirt flat, flip your head over it, and wrap it into a turban. The plop encourages your natural wave pattern without heat.
Troubleshooting: if the result is frizzy, you scrunched with a terry towel instead of a T-shirt, so switch fabrics. If waves fall flat at the roots, clip the roots up with small clips while plopping for lift at the crown.
Conclusion
Heatless curls for short hair are absolutely achievable, you just have to stop following long-hair tutorials and use methods sized for your length. Overnight sets, small sections, and the right product make all the difference.
Try two or three of these methods and see which one your hair likes best. Short hair has opinions, and the fastest way to learn them is to experiment.
Follow ChromaMane on Pinterest and save these heatless curl ideas to your hair board, so your next no-heat style is ready whenever you are.
