
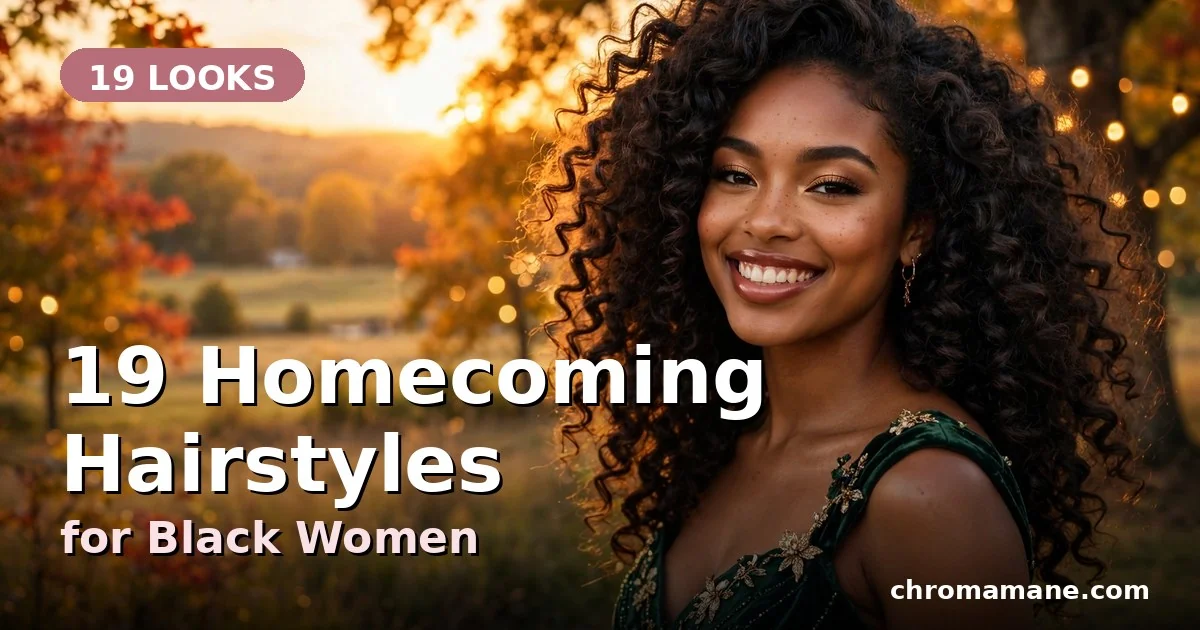
Homecoming night has a way of testing your hair. The gym gets warm, the dance floor gets warmer, and by the time the group photos happen, half the styles in the room have given up.
You want something that still looks fresh at the last slow song. That is the real goal, more than any trend. A style that holds its shape, photographs well, and lets you stop thinking about it once you walk through the doors.
Finding homecoming hairstyles for Black women that do all three is easier than it looks. The trick is matching the style to your hair as it is right now, not the hair you wish you had on the day. A silk press needs a different game plan than knotless braids, and both deserve better than a last minute scramble.
Below are 19 ideas with honest styling notes for each one. Every style comes with a quick visual guide you can save. Pick the one that fits your hair, your dress, and the amount of time you actually have.
1. Sleek Middle Part Silk Press with Tucked Ends
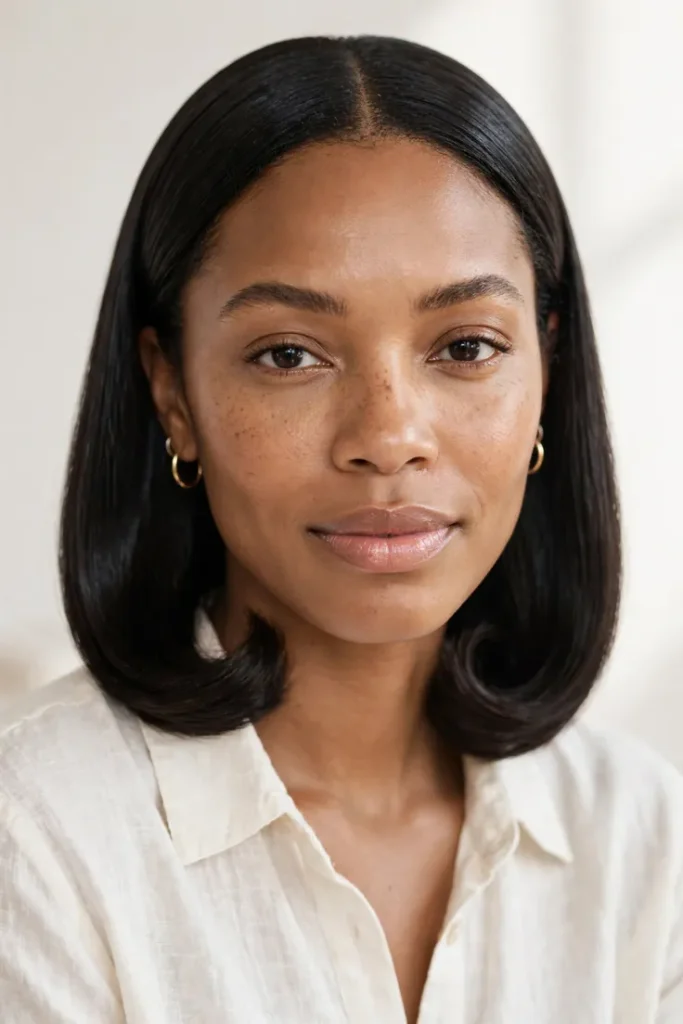
Humidity is the enemy of a silk press, and homecoming night is full of it. Hot gym air, a packed dance floor, and a long evening can turn sleek roots puffy before the group photo.
A middle part keeps the look balanced and lets tucked ends swing without catching on your dress. Ask your stylist for a light trim first so the ends sit clean instead of wispy.
- Wrap your hair in a silk scarf for the car ride over.
- Keep a travel edge brush in your clutch for touch ups.
- Skip heavy oils at the roots. They drag the press down fast.
2. High Puff with Sculpted Baby Hairs
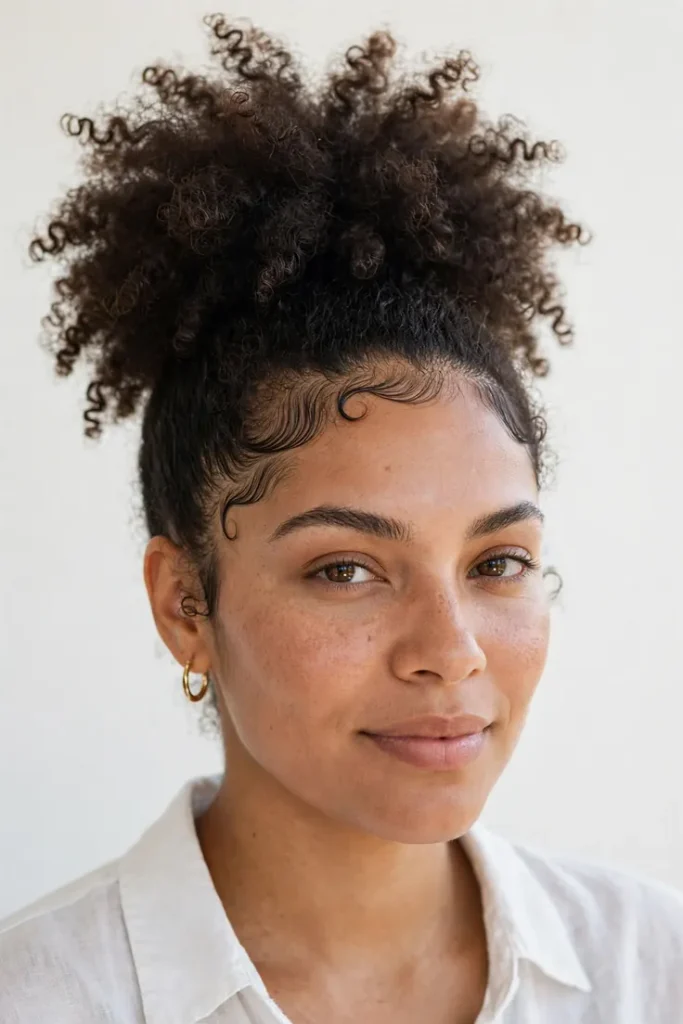
The high puff gives you height, shape, and movement in about fifteen minutes. It photographs well from every angle, which matters when the flash keeps finding you all night.
Stretch your hair the evening before with loose twists so the puff sits full instead of tight. Smooth the front with a soft brush and lay your edges after your makeup is done, not before.
- A drawstring puff fills in the gaps on shorter hair.
- Match your edge design to your dress neckline.
- Fluff the back with your fingers, never a comb.
3. Side Swept Feed-In Cornrows into a Low Bun
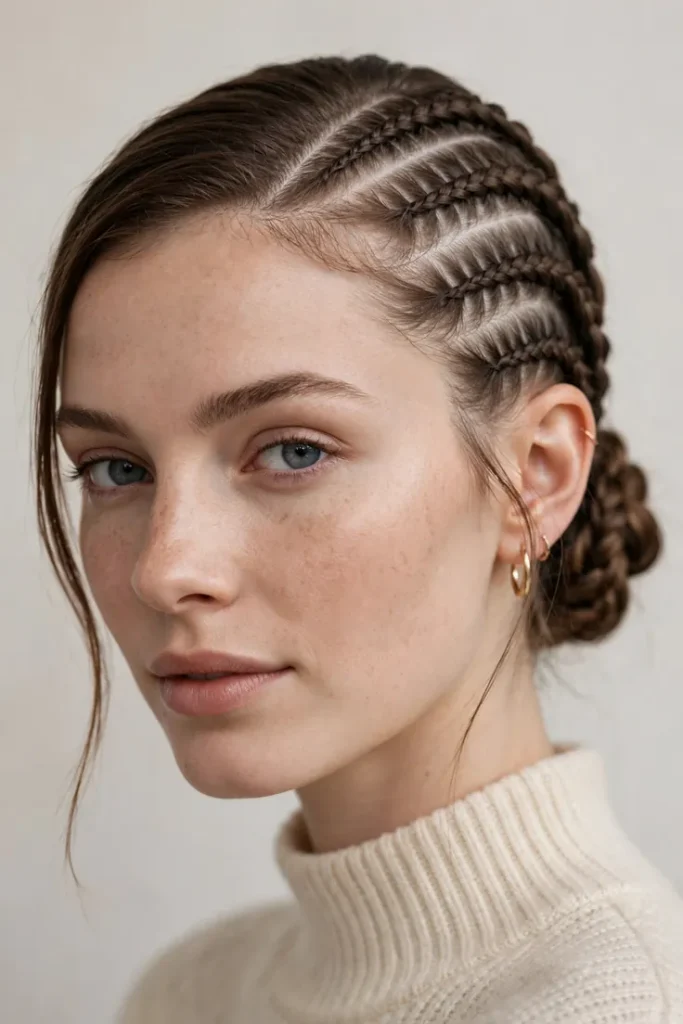
Start with clean, stretched hair and part it deep on one side. Feed small pieces of braiding hair in as you cornrow toward the opposite ear so the braids lie flat and neat against the scalp.
Gather the ends into a low bun at the nape and pin it tight. Tuck the tail fully under so no loose ends poke out in photos.
- Medium sized braids are the sweet spot. Tiny ones take all day.
- Add two thin face framing braids up front for softness.
- Smooth a little oil along the parts to stop flaking.
4. Voluminous Twist Out with a Deep Side Part
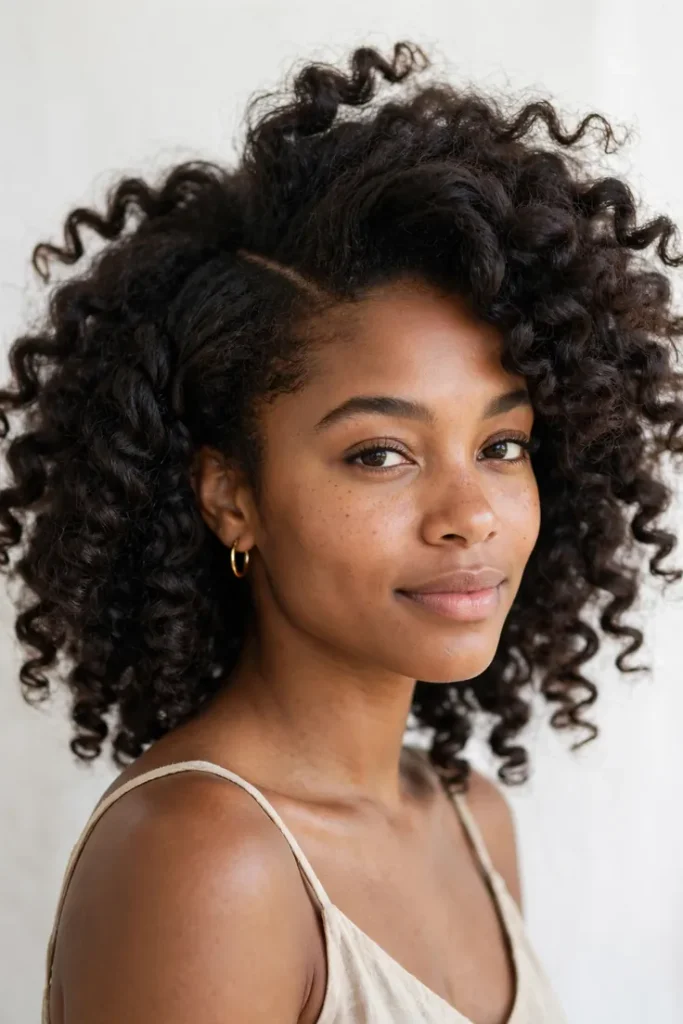
People say twist outs never survive a long night. That is only true when the twists go in too dry or come out too early.
Twist on damp, conditioned hair and wait until it is fully dry before you separate. A deep side part gives the style its drama, keeping one side full while the other lies smooth.
- Work the leave in through with the LOC method for hold.
- Separate each twist once, then leave it alone.
- Pineapple it in the car so the ride over does no damage.
5. Classic Sew In Body Wave with a Side Part
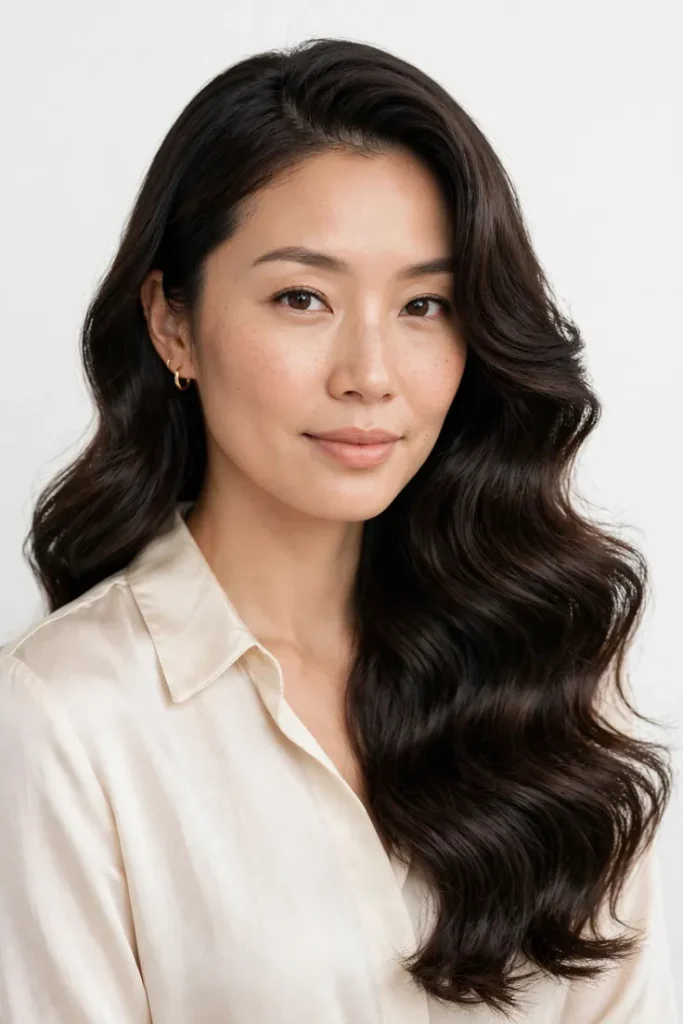
You are getting ready at your friend’s house and the curling iron is already hot. With a body wave sew in, you barely need it. A side part and a few passes with a large barrel is plenty.
Brush the waves out softly so they fall like one curtain instead of stiff ringlets. A light shine spray on the mids keeps the camera flash from catching dry patches.
- Install it at least two days early so it settles.
- Blend the leave out with the same heat setting.
- Sleep in one loose braid the night before.
6. Fulani Braids with Curly Ends
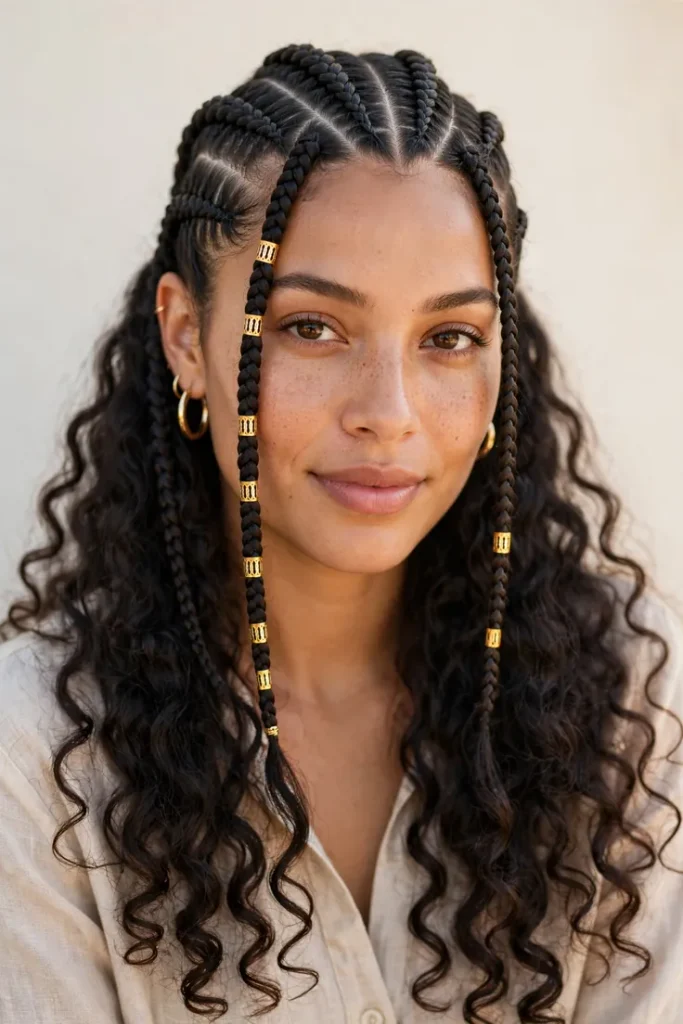
The texture mix is what makes this style stand out. Neat cornrows up front, then loose curls spilling past the shoulders. It moves when you walk and catches the light in every photo.
Ask for the center braid with beads or cuffs for the classic Fulani detail. Keep the curly ends moisturized so they stay defined instead of tangling by midnight.
- Dip only the braided part in hot water, not the curls.
- Bring a small spray bottle for the ends.
- Tie the braids up at night and leave the curls free.
7. Low Sleek Ponytail with a Wrapped Base
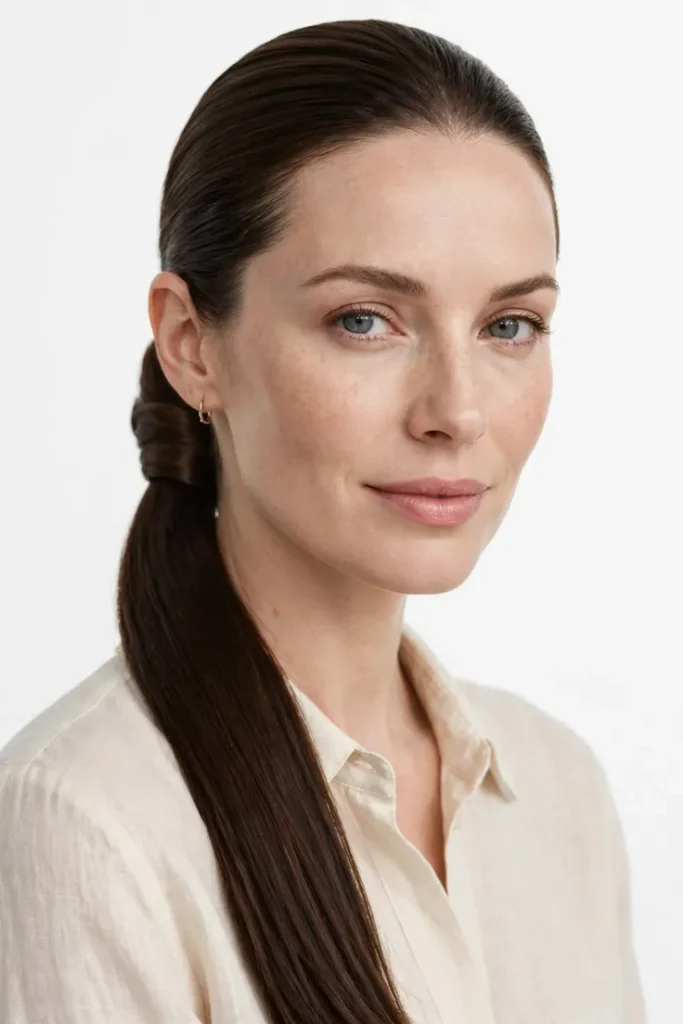
One rule decides this whole style. The sleeker the base, the better everything looks. The tail is just decoration.
Brush the hair back with a strong hold gel, then wrap a small section of hair around the elastic to hide it. That wrapped base is the detail that reads salon done instead of rushed.
- Stack two ponytail holders for extra lift.
- Flat iron the tail in sections for a smooth fall.
- Finish with shine spray, not oil, to avoid buildup.
8. Bantu Knot Crown with Face Framing Tendril
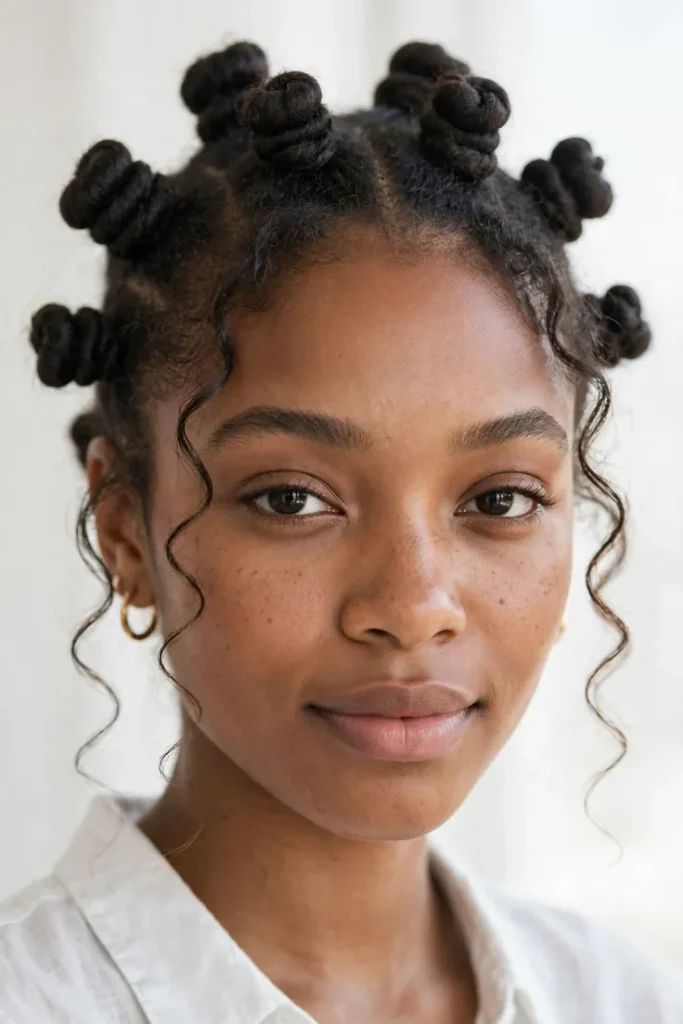
The common mistake is coiling every knot exactly the same. Vary the sizes a little and the crown looks styled instead of stamped out.
Part the hair into sections and twist each into a knot, working front to back. Pull two thin tendrils out near your temples and curl them lightly so your face stays soft against the structure.
- Bigger sections in back, smaller ones up front.
- Pin each knot. Do not rely on tension alone.
- Smooth edge control along the hairline last.
9. The Asymmetrical Silk Pressed Bob
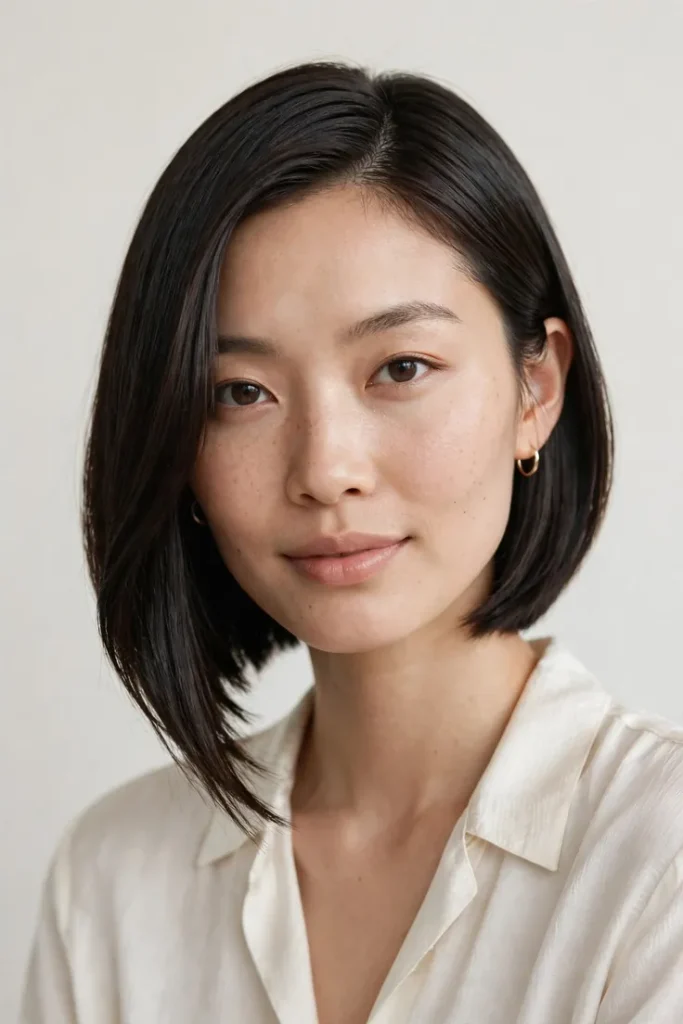
A blunt bob reads polished. An angled bob reads fashion. For homecoming, the longer side sweeping past the jaw gives you the second one without trying too hard.
Keep the shorter side tucked behind one ear to show off an earring. The asymmetry does the styling work, so the finish just needs to be smooth.
- Ask for the angle cut, not layers, to keep it sharp.
- Flat iron in small sections for a glass finish.
- Blot the forehead through the night. Shine there ruins the sleek effect.
10. Goddess Locs Swept into a Side Ponytail
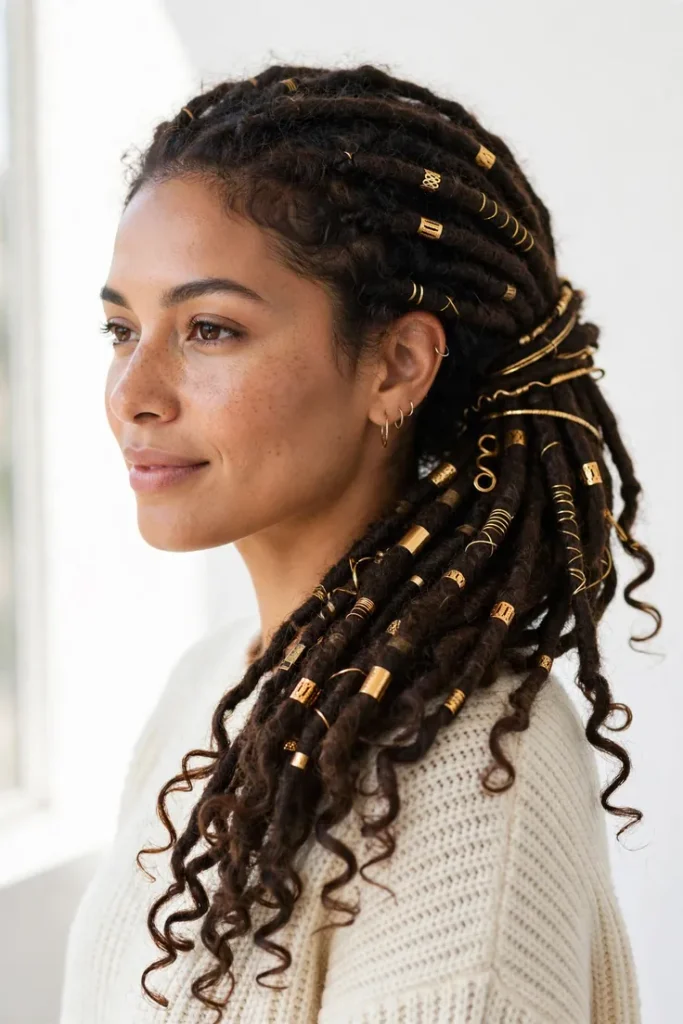
I have watched this style carry an entire outfit. The locs do the talking, so the ponytail only needs to sit high and swing.
Gather everything to one side and secure it with a wrapped loc or a fabric band close to your dress color. Let a few locs fall forward over one shoulder for the photos.
- Mist the scalp lightly before styling, not after.
- Use a scrunchie instead of a tight elastic to avoid dents.
- Slide a gold cuff onto two locs near the front.
11. Half Up Top Knot with Flowing Curls
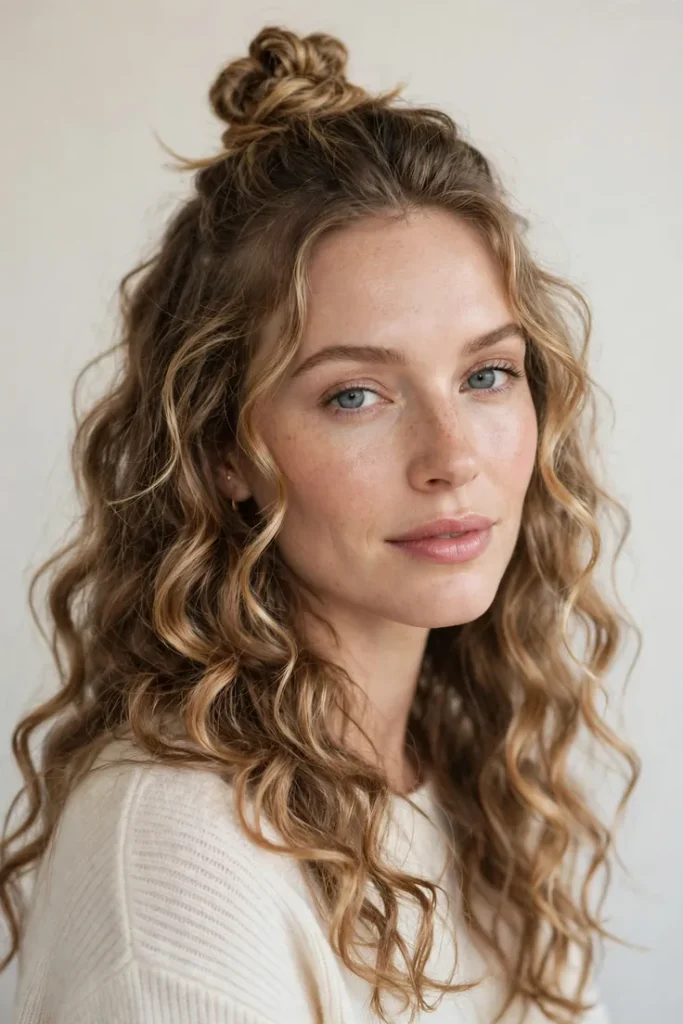
Half up styles have one weak spot. The knot slides back by the third slow song.
Tease the crown lightly before gathering the top section, and anchor the knot with two crossed pins instead of trusting one elastic. The bottom curls stay free and full underneath while the top stays put.
- Curl the bottom section away from the face.
- Slide pins under the knot, not straight through it.
- Hairspray on the knot only. Keep it off the curls.
12. Knotless Box Braids Piled into a High Bun
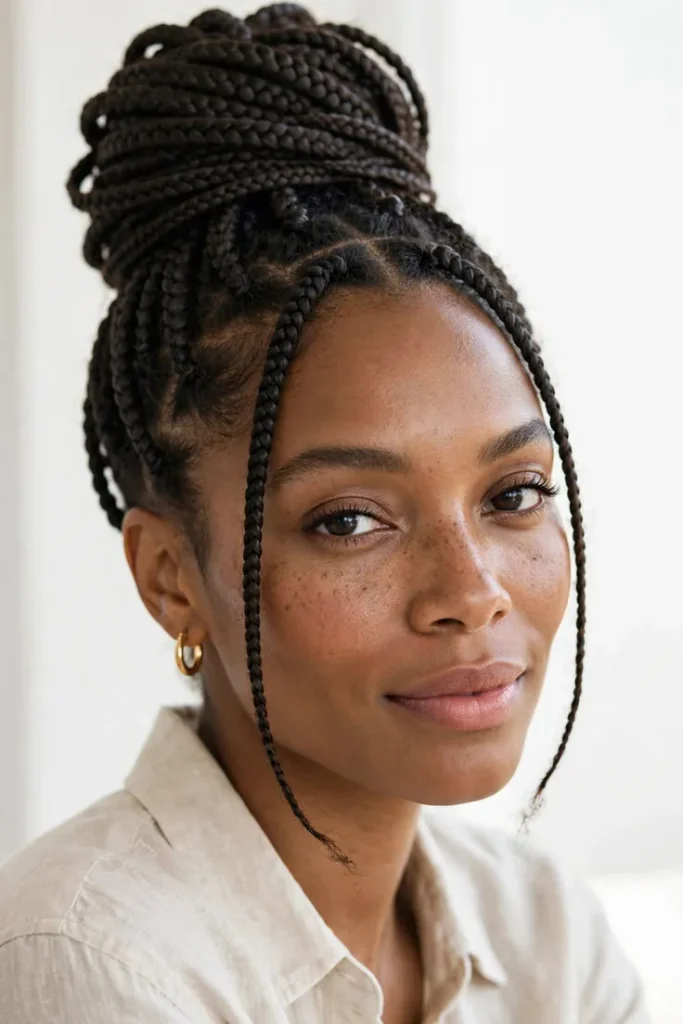
The high bun turns long braids into an updo that shows off your neckline and earrings. It also keeps the braids off your dress, which saves the fabric and your shoulders by the end of the night.
Pile the braids up loosely so the bun looks full, then wrap the last few braids around the base. Pull two thin braids out at the front to soften the hairline.
- Ask for smaller braids along the front rows.
- Set the base with a fabric scrunchie to protect edges.
- Mist with leave in spray for shine before photos.
13. Vintage Finger Waves on Short Natural Hair
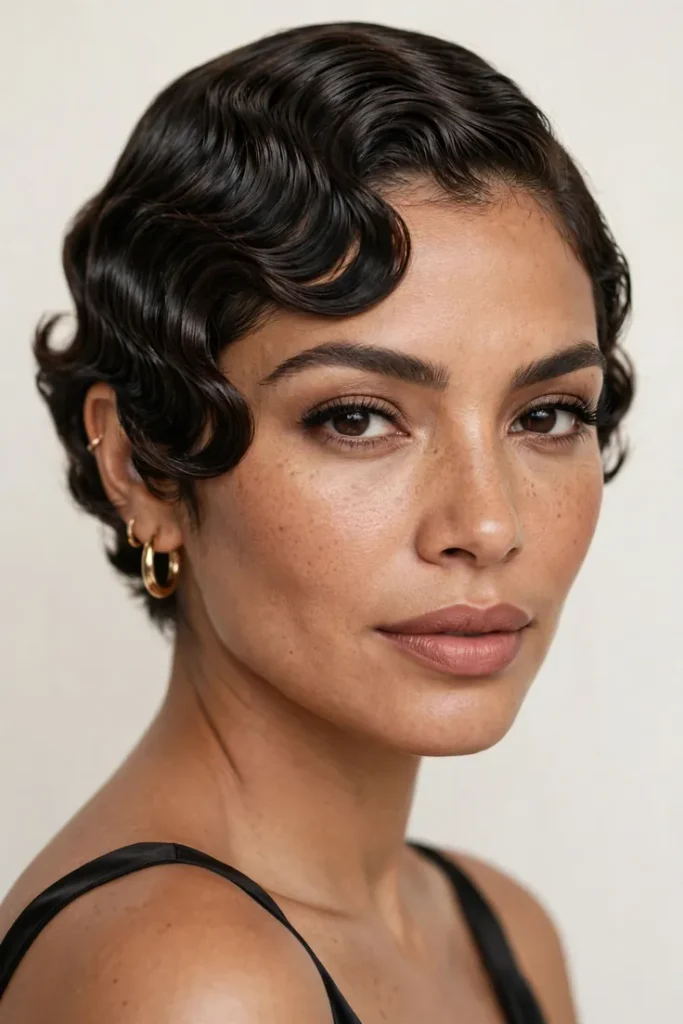
Work in small sections with a strong hold gel and a fine tooth comb. Press each wave into place with your finger, then move the comb the opposite way to build the ridge.
Cover the style with a silk scarf for at least twenty minutes so the waves set. Peel the scarf off slowly right before you leave the house.
- Short hair sets fast, so keep your pace up.
- Clip each ridge while it dries.
- Detail the edges with a toothbrush for precision.
14. Side Part Bob with Barrel Curls
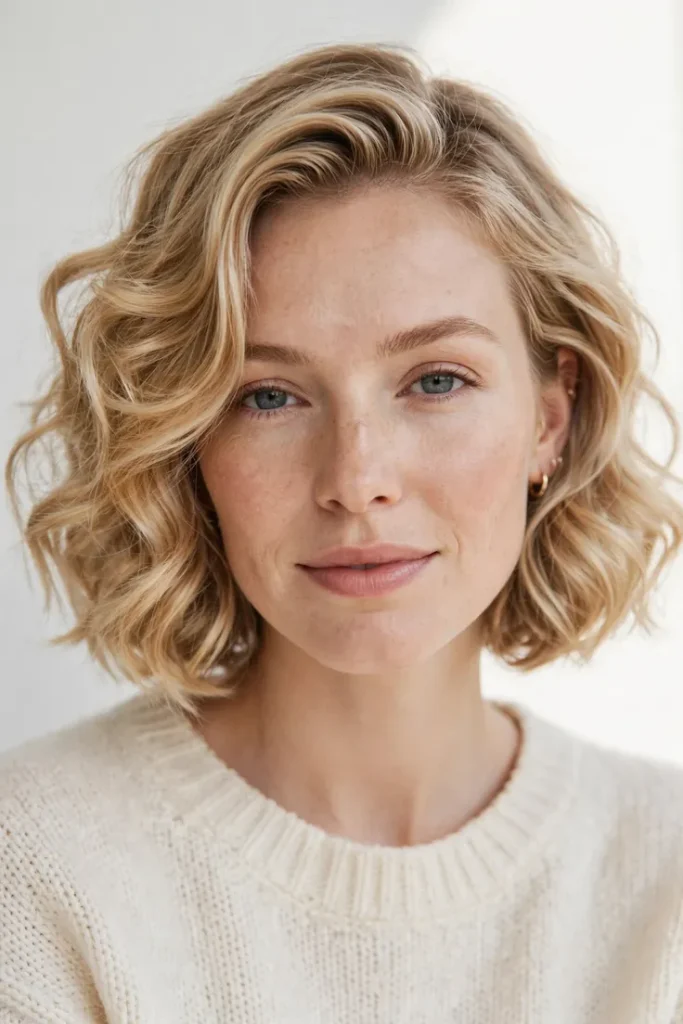
Curls on a bob do not have to mean big pageant hair. Medium barrel curls, brushed out once, give bounce without the costume feel.
Curl away from the face on both sides and let every curl cool fully before you touch it. The deep side part is what keeps the whole thing modern.
- Cool each curl pinned up while you do your makeup.
- Brush through exactly once to keep the shape.
- Pin one side back if your dress has neckline detail.
15. Pineapple Updo with Gold Cuff Accents
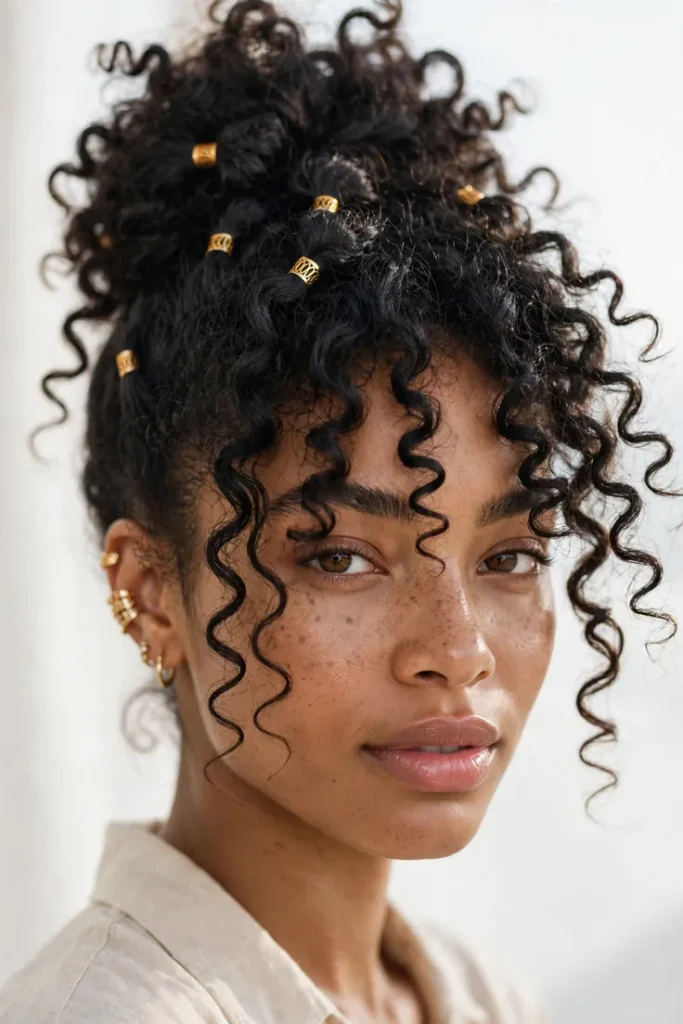
You are running late and yesterday’s curls still look good. This style forgives that completely.
Gather everything to the very top and secure it loosely so the curls cascade forward. Slide two or three gold cuffs onto curls near the front, right where the camera will catch them.
- The higher the puff, the longer your neck looks.
- Stretch the hairline gently for a fuller shape.
- Cuffs beat pins here. They stay put while you dance.
16. Straight Back Stitch Braids with Beaded Ends
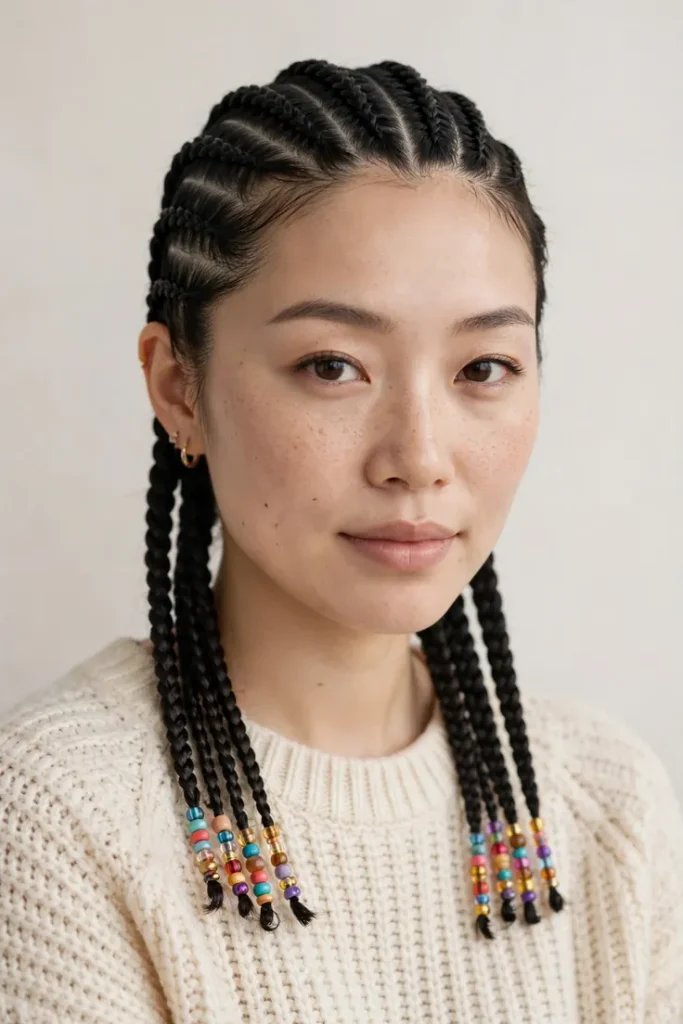
The stitch lines are the entire point of this style. Every part should look drawn on with a ruler, and the beads at the ends bring the homecoming sparkle.
Ask your braider for the stitch feed in technique so the lines stay crisp for weeks. Pick bead colors that echo something in your dress instead of random brights.
- Book two days early so the tension eases off.
- Oil the scalp daily to stop the itch.
- Wrap the full length in a scarf at night, beads and all.
17. Curly Frohawk with Tapered Sides
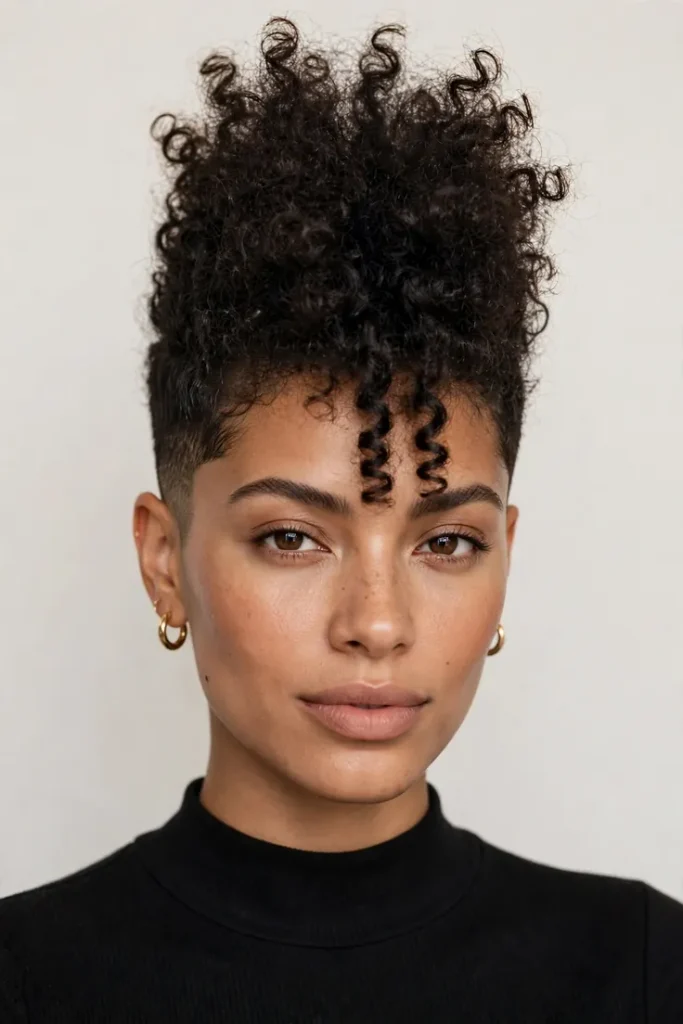
Keep the sides flat and the middle loud. That contrast is the whole style.
Smooth the sides down with gel and a hard brush, then pick the center out to its fullest height. A strip of flat twists down the middle adds structure if your curls need help standing tall.
- Define the center with cream, not gel.
- The strong hold belongs on the sides, not the top.
- Toss a pick in your bag for a midnight fluff.
18. Low Chignon with a Braided Headband
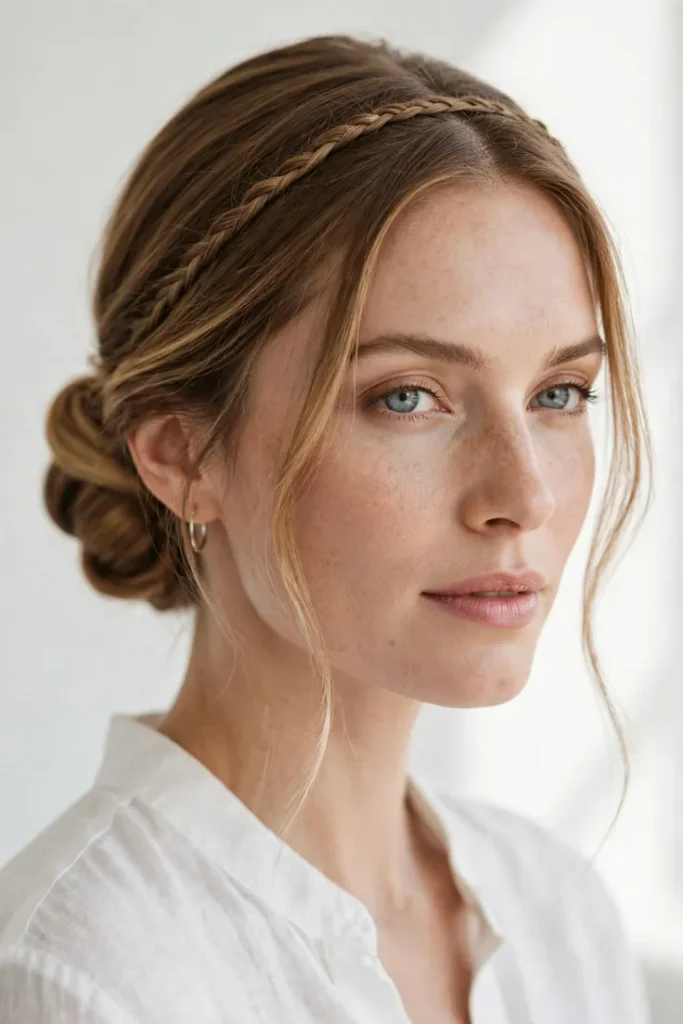
The mistake is pinning the chignon too high. Sitting low at the nape it looks expensive. Sitting mid head it looks like a gym bun.
Smooth the hair back, roll it into a low twist, and pin from underneath so nothing shows. Add a thin braid across the front as a headband, either from your own hair or a matching extension.
- If you can see a pin, it needs moving.
- A middle part keeps it classic, a side part makes it modern.
- Set it with a light mist, not a helmet of spray.
19. Big Bouncy Flexi Rod Curls
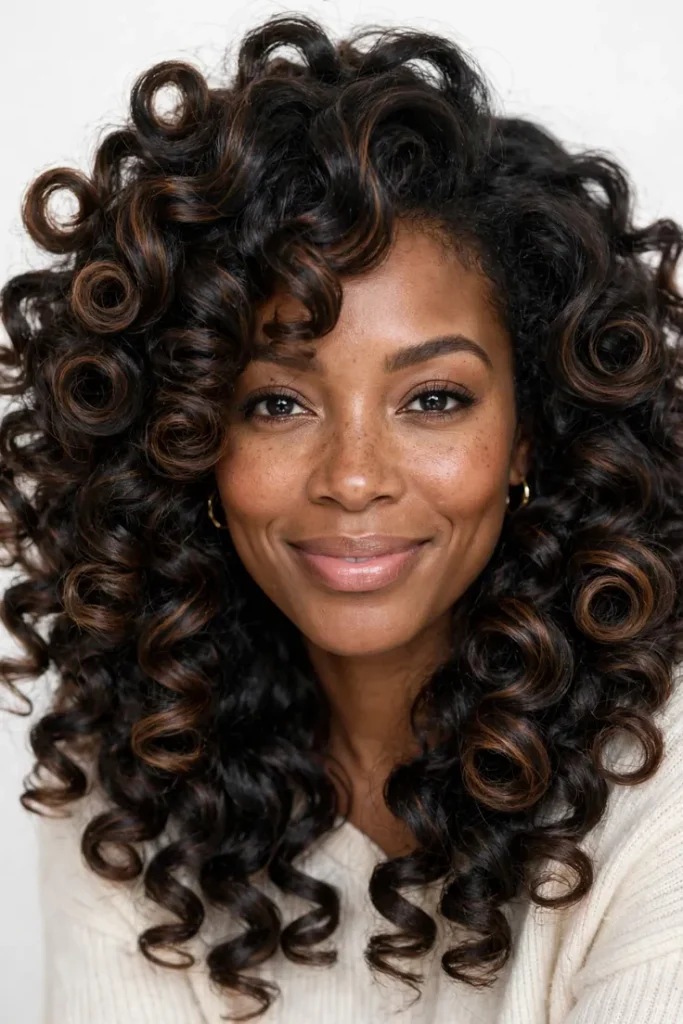
Flexi rods beat a curling iron for one reason. The curls last. Heat curls fall by dinner, but a rod set done the night before is still bouncing at the last dance.
Roll damp, conditioned hair and sleep in a bonnet. Unroll in the morning, separate gently, and shake it out.
- Bigger rods give looser waves, smaller rods give tighter curls.
- Never unroll until the hair is fully dry.
- Fluff the roots with a pick for extra height.
Final Thoughts
Every one of these homecoming hairstyles for Black women works because it was built for a real night, not a photo shoot. Dancing, hugging, laughing, and a gym that slowly turns into a sauna. Pick the style that matches your hair type and your patience level, then do a trial run a few days before.
The best style is the one you forget about once the music starts. If you are still thinking about your hair at midnight, it was the wrong pick.
Save this list to your homecoming board so it is there when you start getting ready. Your future self, mid dance floor, says thank you.
