
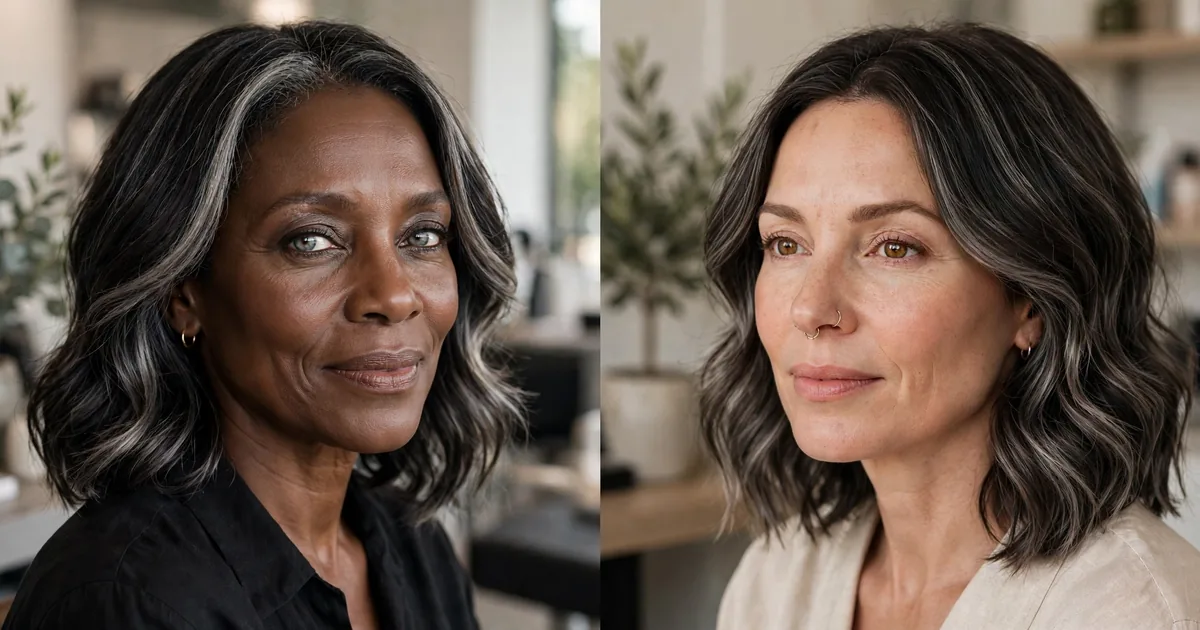
If your dark hair is starting to show silver and you are not ready for a full color commitment or a full gray reveal, gray blending for dark hair is the middle path most stylists recommend first. It is not covering your gray, and it is not letting it all grow out untouched. It is a technique that weaves your natural gray into the color so the line between old color and new growth quietly disappears. Curious about the science? Here is why hair turns gray in the first place.
Here is my honest take: most people pick the wrong technique because they ask for highlights when they actually needed lowlights, or the other way around. Highlights lighten pieces around your gray so it blends in, while lowlights darken pieces to rebuild the depth that gray hair takes away. Knowing which one your hair needs is half the battle, so let us break it down together. For a closer look at highlight placement on dark hair, see these fall highlights for brown hair.
Every idea below includes grow-out notes, honest maintenance realities, and exact words you can repeat at your salon consultation. Find the one that matches your gray level, and walk into that appointment prepared instead of guessing.
1. Fine Babylights With a Dark Root
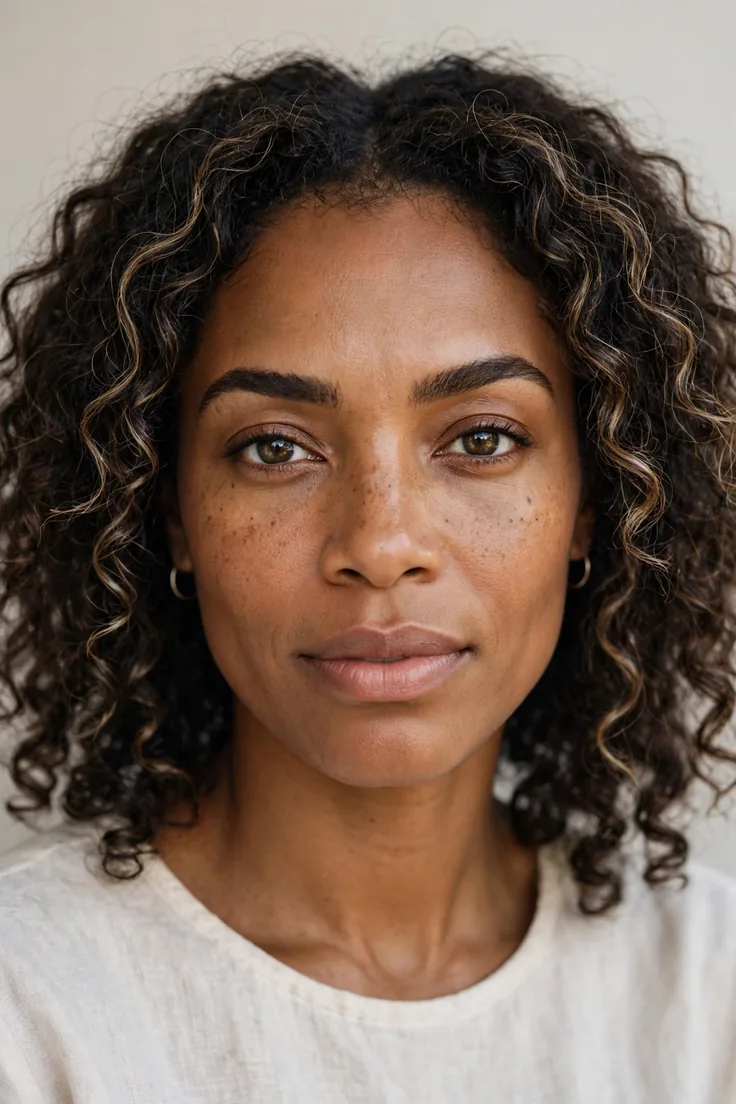
Babylights are ultra-fine highlights that mimic the way gray naturally threads through dark hair, so the blend looks completely organic. This is the lightest touch on this list and suits sprinkles, meaning under 25 percent gray.
Maintenance is easy: the regrowth is soft, so touch-ups every eight to ten weeks are plenty. Tell your stylist: ask for fine babylights through the crown while keeping my natural base at the root.
2. Lowlights That Rebuild Lost Depth
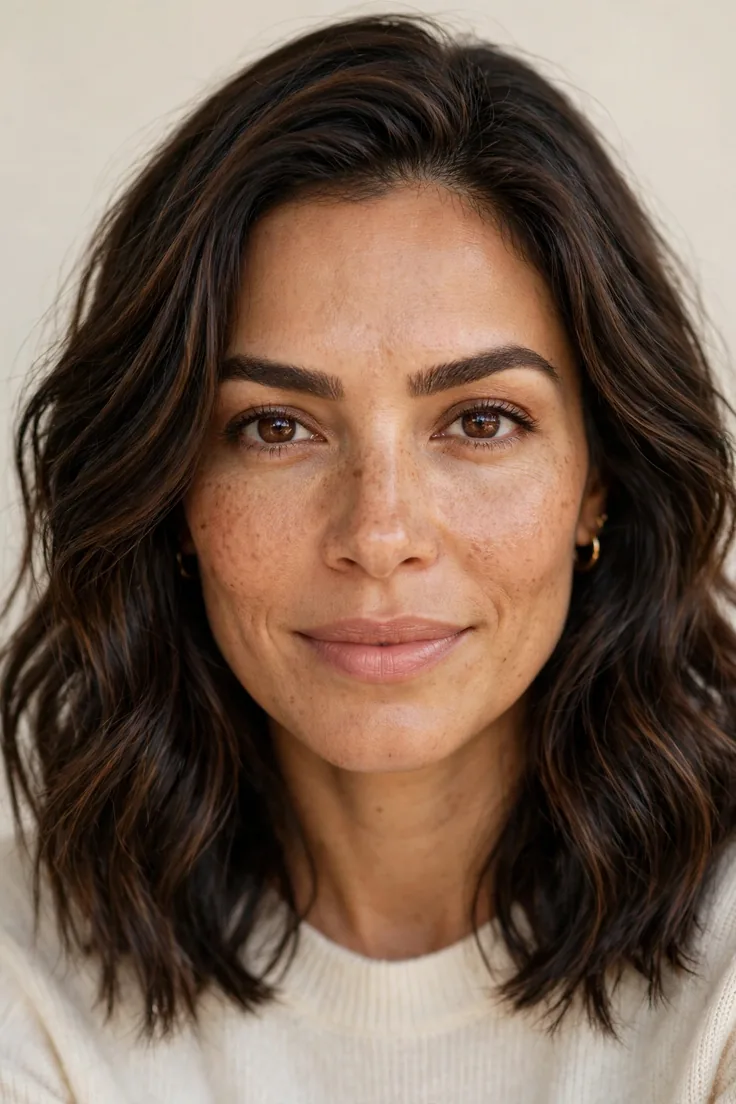
Lowlights add dark pieces back into the hair, which is what gray hair actually needs most, since gray strands are lighter and flatter than the hair around them. Here is the highlights versus lowlights point most people miss: if your hair looks washed out rather than streaky, lowlights will do more work for you than highlights.
This suits salt and pepper hair around 30 to 50 percent gray. Grow-out is gentle because lowlights fade rather than growing out with a visible line. Tell your stylist: I want lowlights about two shades lighter than my natural color to soften the gray without covering it.
3. Salt and Pepper Balayage With a Soft Money Piece
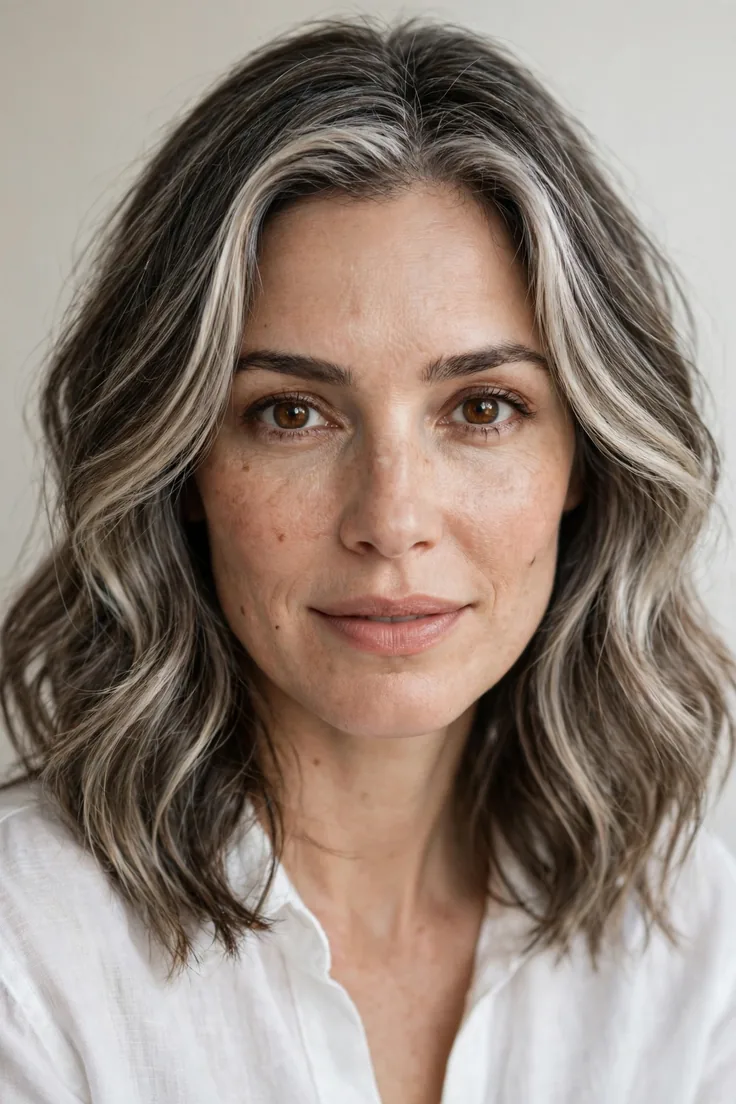
Hand-painted light pieces run through the mid-lengths with a brighter section framing the face. Balayage grows out with no harsh line, which is the entire point of blending.
This works for 30 to 60 percent gray and looks especially natural on long dark hair. Maintenance is a gloss every eight weeks with a full balayage refresh about twice a year. Tell your stylist: ask for a salt-and-pepper balayage with a soft money piece, nothing too bright.
4. Lived-In Root Melt With Highlights and Lowlights
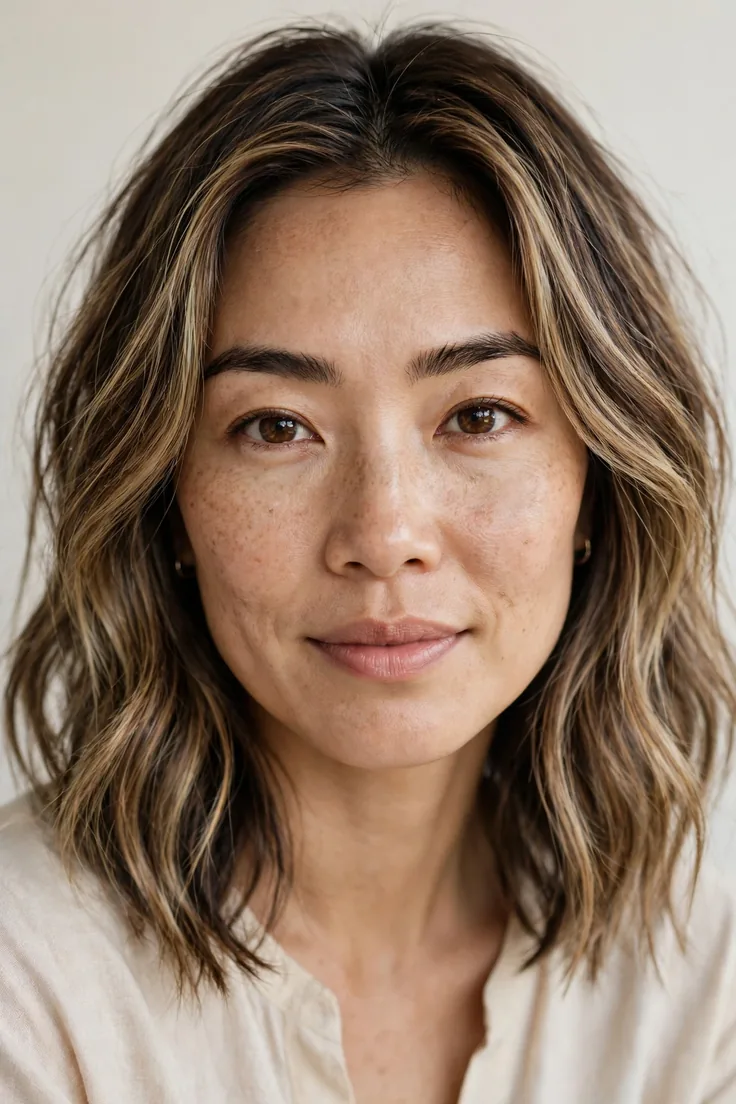
A root melt smudges your natural color down from the scalp while highlights and lowlights work together through the lengths. Here is the comparison in practice: the highlights lift the overall brightness to meet your gray, and the lowlights keep the dark dimension so you never look washed out.
This is the best all-rounder for 40 to 60 percent gray. Grow-out is the softest of any technique here, stretching easily to three or four months. Tell your stylist: I want a root melt with both highlights and lowlights, blended so there is no visible line.
5. Gray Ribboning With Thin Highlight Slices
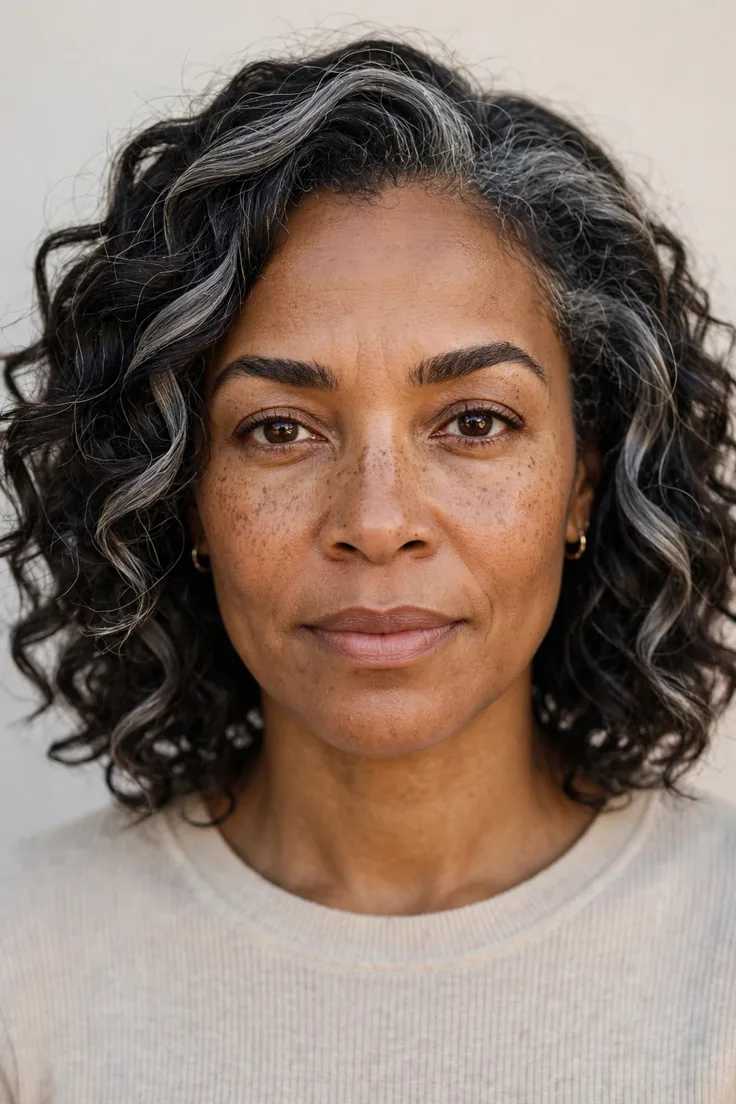
Thin vertical slices of light color are placed so they read as ribbons of silver rather than stripes. This works beautifully when your gray comes in as distinct streaks, especially at the temples and part.
It suits 25 to 45 percent gray. The slices grow out softly, with refreshes every ten weeks. Tell your stylist: ask for thin highlight slices placed vertically to ribbon my natural gray through the dark base.
6. Face-Framing Highlights With Lowlight Depth
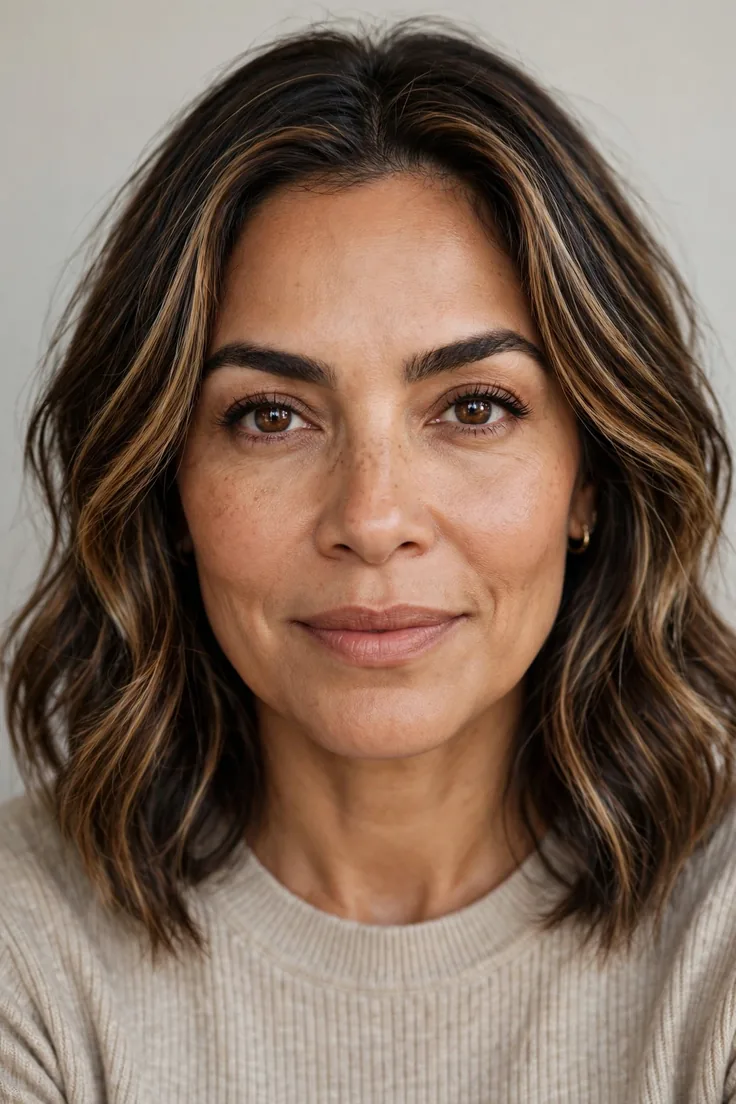
Brighter pieces go around the face where gray shows first, with lowlights placed behind them for contrast and depth. The highlights do the blending work up front, while the lowlights stop the back of the hair from looking flat.
This is ideal when your gray is concentrated at the hairline, the classic sprinkles pattern. The face frame fades gracefully, with redos every eight to twelve weeks. Tell your stylist: I want face-framing highlights with lowlights behind them for depth.
7. Partial Foils With a Root Shadow
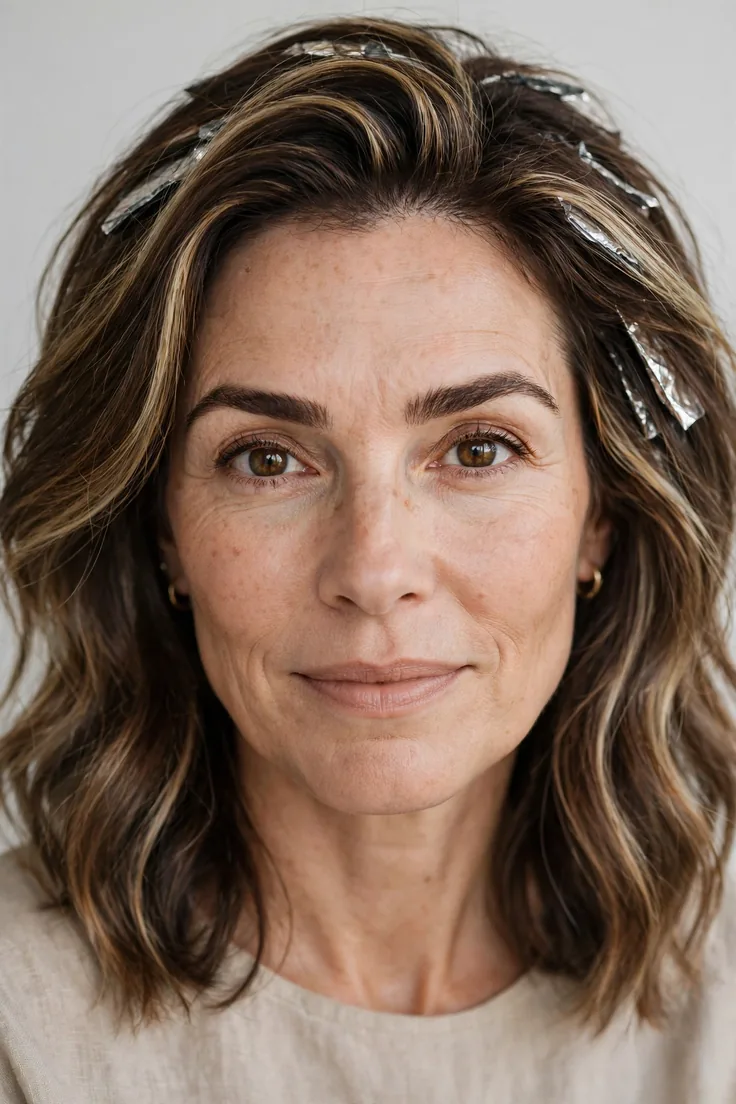
Foils go only through the top and crown where gray is visible, with a shadow root applied to blur the regrowth line. It is faster and cheaper than a full foil, and the root shadow is what makes it genuinely grow-out friendly.
Best for 20 to 40 percent gray. The shadow stretches appointments to ten to twelve weeks. Tell your stylist: ask for partial foils with a root shadow so I can stretch my appointments.
8. Silver Balayage With Smoky Lowlights
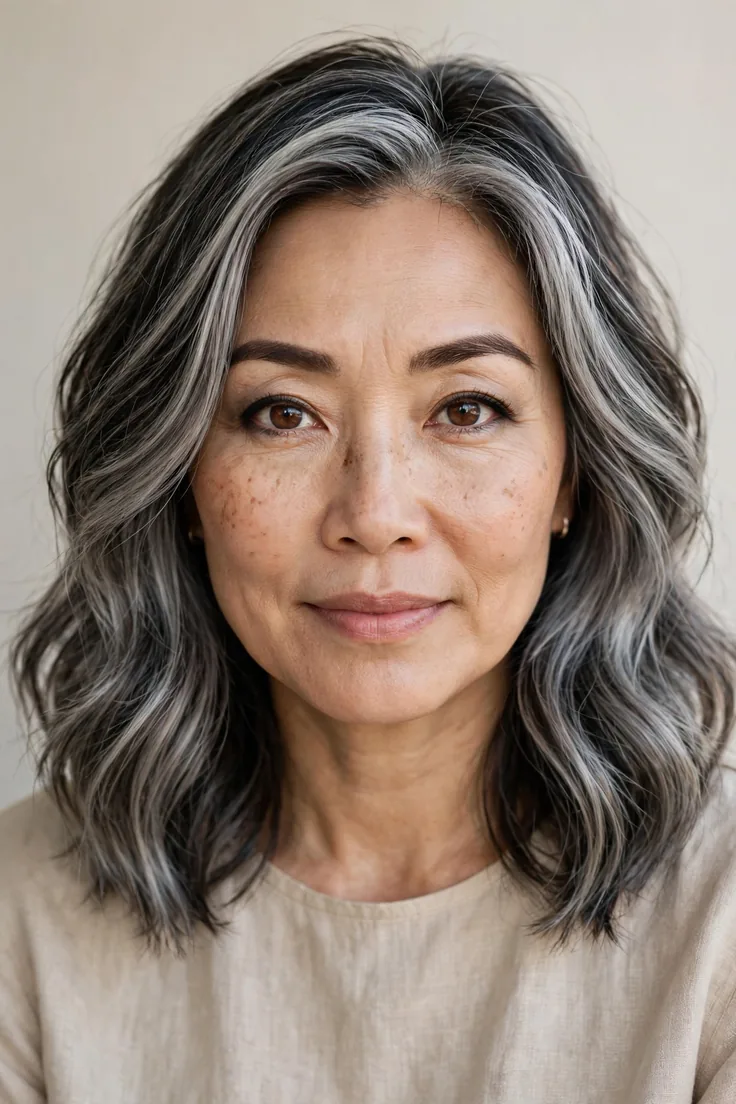
For heavy gray, 60 percent and above, where you lean into the silver instead of fighting it. Smoky lowlights are threaded through so the silver has dimension instead of reading as one flat sheet. Grow-out is almost invisible because the base is already light.
Maintenance flips here: purple shampoo weekly at home to keep the silver from yellowing, plus a salon tone every eight to ten weeks. Tell your stylist: I want to blend toward silver with smoky lowlights for dimension. If you are going lighter overall, browse these fall blonde hair colors for inspiration.
9. Chunky Lowlights With Icy Highlights
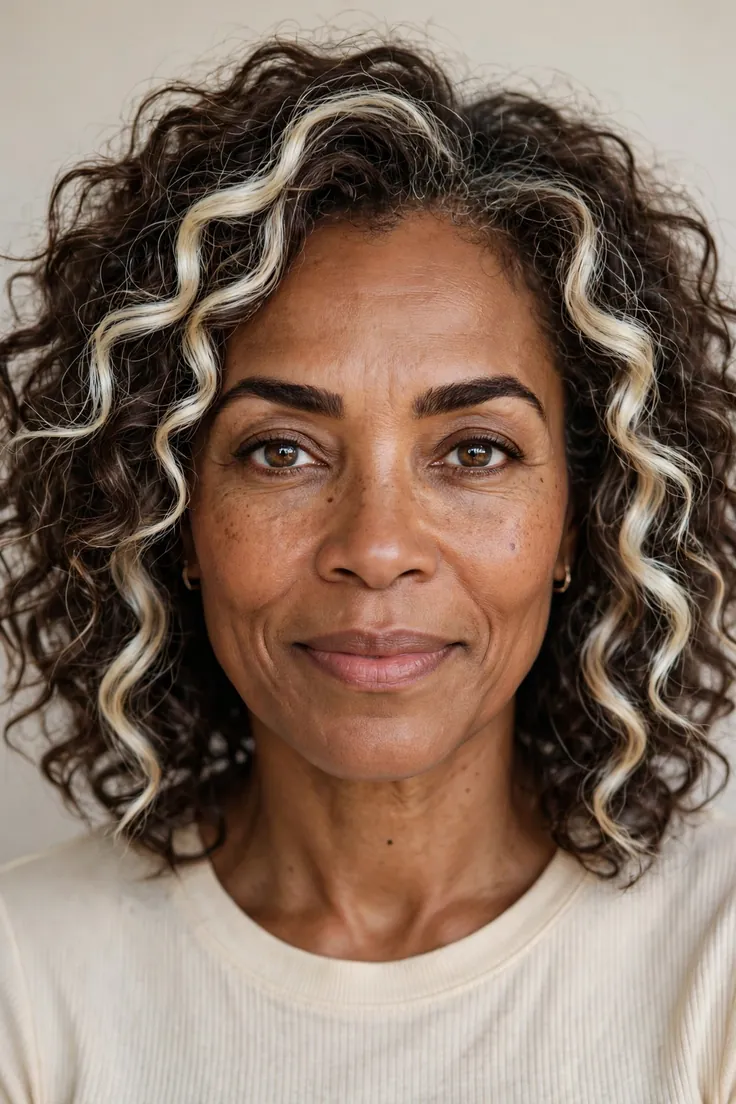
Bolder, more visible pieces for those who want real dimension rather than a soft blur. The icy highlights match bright gray while the chunky lowlights mimic the old dark base, creating a striking salt-and-pepper effect. Best for 50 percent gray and above.
Here is the honest maintenance note: chunky pieces show regrowth sooner than fine ones, so plan on eight-week appointments. Tell your stylist: ask for chunky lowlights with icy highlights for bold dimension.
10. Crown Babylights With a Dark Melt
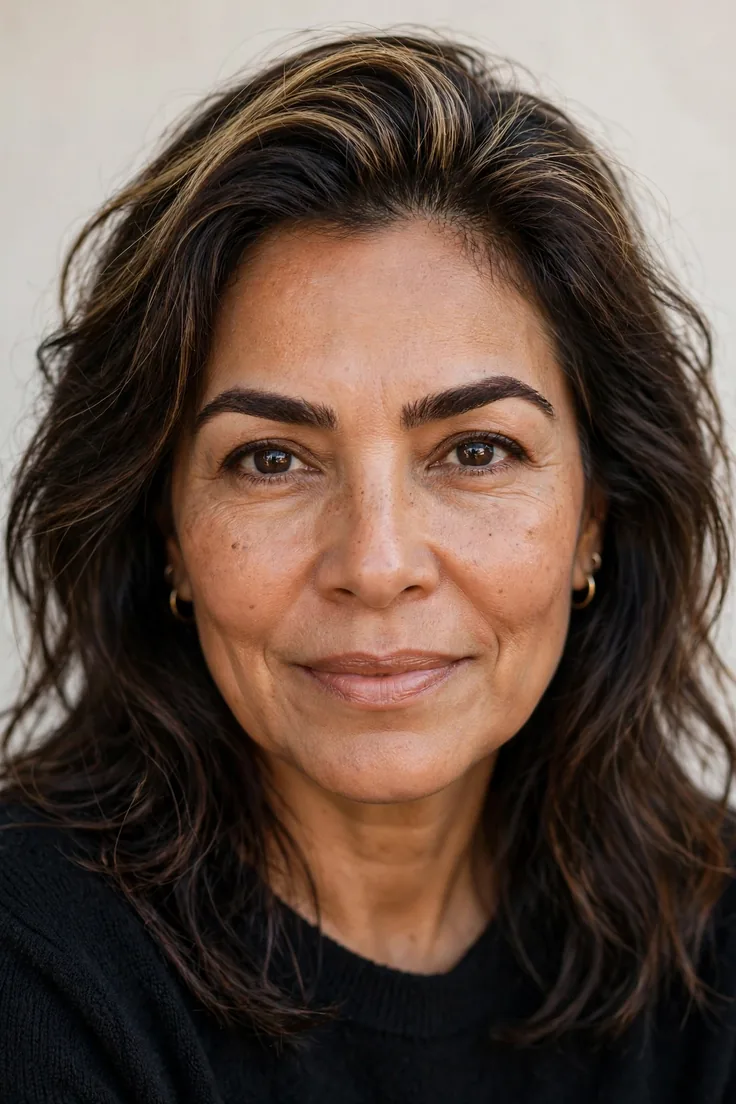
Babylights are concentrated exactly where gray shows most, the crown and part, while the dark base is melted through the rest of the hair. This targets the precise zone that bothers most people when they look in the mirror. It suits sprinkles through salt-and-pepper levels.
The crown babylights soften on their own, making this genuinely low upkeep. Tell your stylist: I want babylights just through the crown and part, melted into my dark base.
11. Peppery Streaks With a Gloss Finish
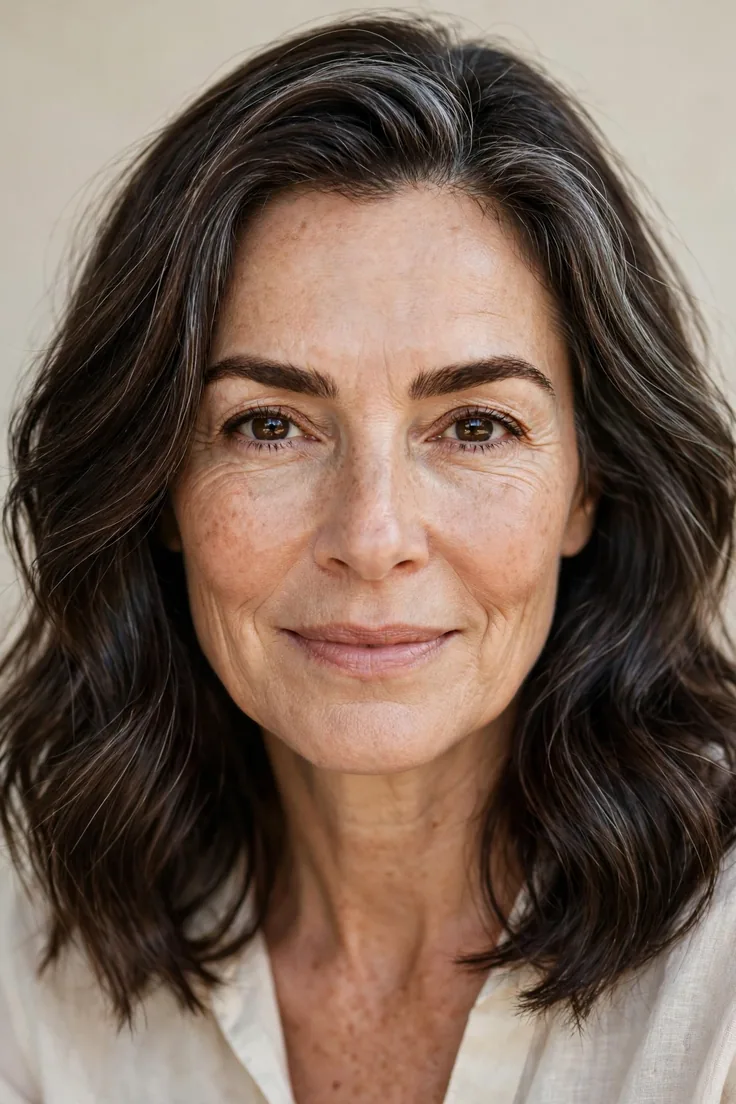
This technique embraces your salt-and-pepper mix as it is and seals everything with a clear gloss for shine. Gray hair is coarser and duller than pigmented hair, so the gloss is not optional here, it is the step that makes blending look intentional instead of neglected. Best for 40 to 60 percent gray.
Maintenance is a gloss every six weeks, which is the cheapest recurring appointment on this list. Tell your stylist: leave my gray pattern alone and finish with a clear gloss for shine.
12. Cool-Toned Gray With Ash Lowlights
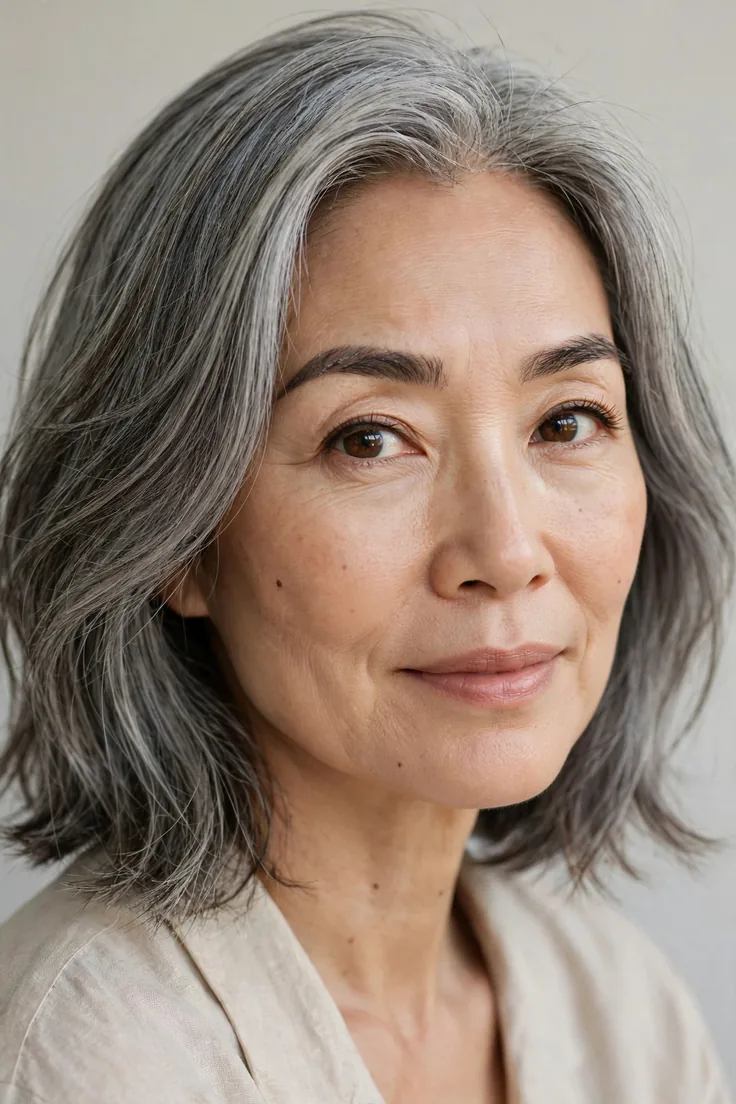
Ash lowlights neutralize the yellow cast that gray hair picks up from sun exposure and hard water. Highlights versus lowlights once more: in this technique, the lowlights are doing color correction, not just blending, which is why they matter more than the highlights.
Best for 50 to 70 percent gray that is starting to yellow. Maintenance is purple shampoo at home and a salon gloss every eight weeks. Tell your stylist: my gray is yellowing, so I need ash lowlights to cool it down.
13. Warm Bronze Lowlights With Silver Threads
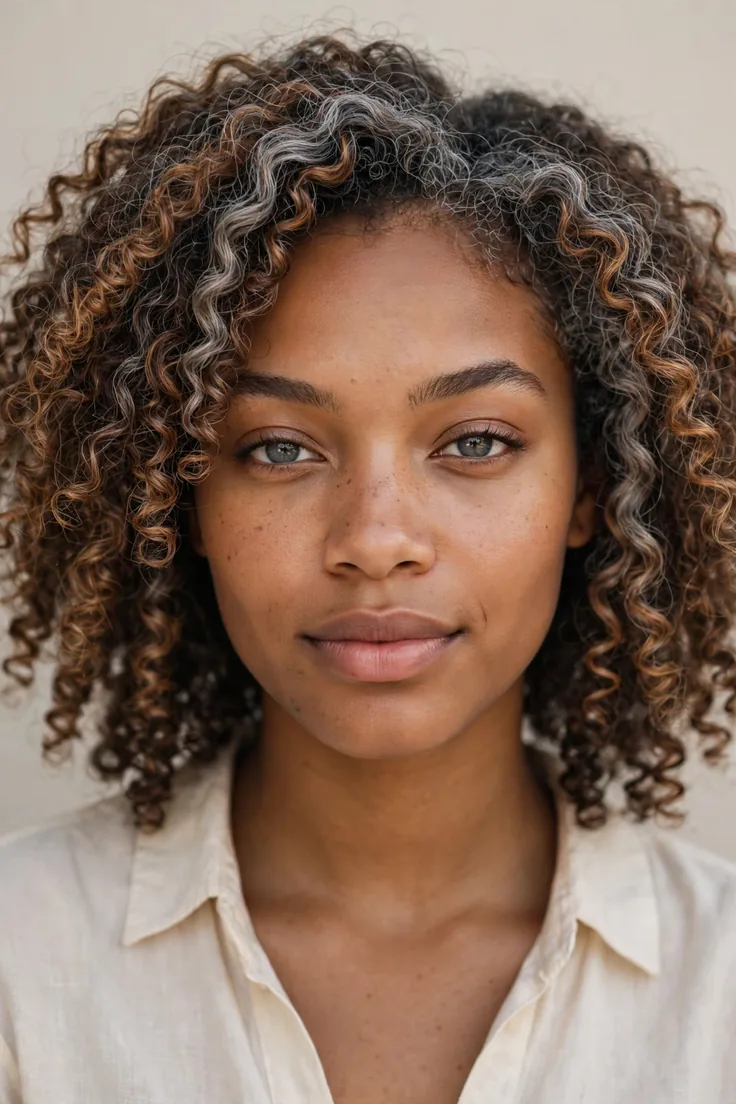
For those whose gray reads warm, or who simply prefer golden tones over icy ones. Bronze lowlights weave through the silver strands for a bronze and silver mix that flatters warm skin beautifully.
This suits 30 to 50 percent gray. Warm tones fade softly rather than growing out with a line, so maintenance stays low. Tell your stylist: I want warm bronze lowlights woven through my silver, not an icy blend.
14. Demarcation Line Blur With Strategic Foil Placement
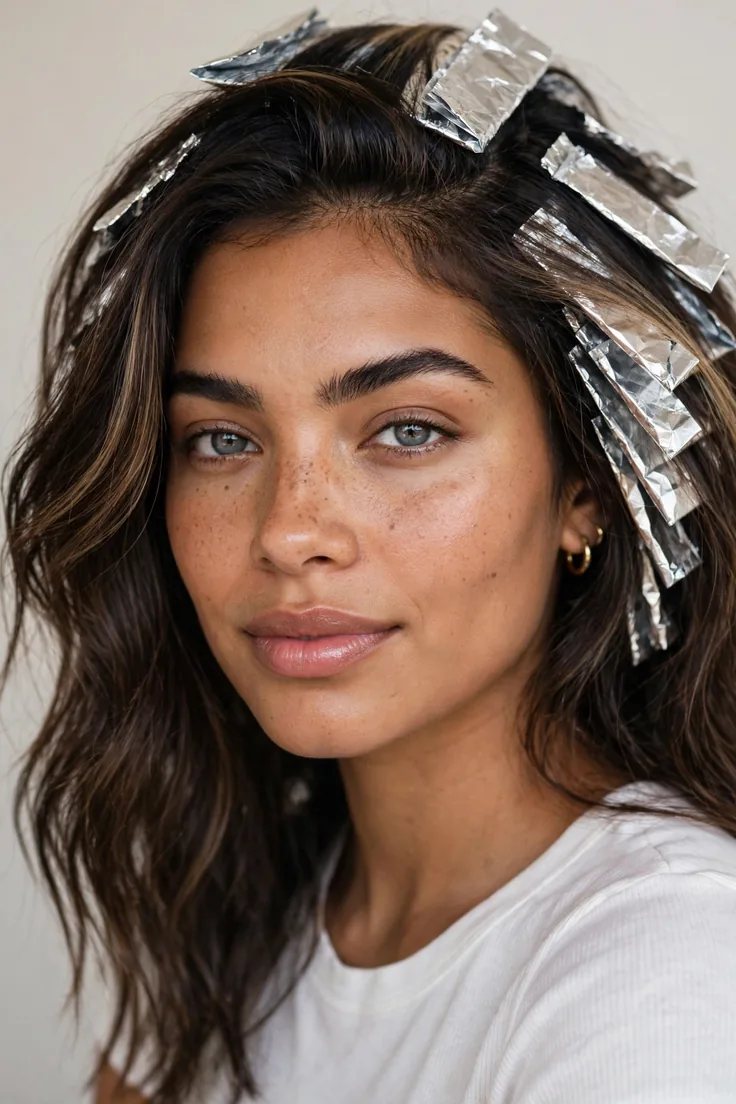
This is specifically for growing out old permanent color. Foils are placed right at the line where the dyed hair meets your gray growth to break it up into a soft blur.
Think of it as a transition technique with a finish date, not a forever maintenance plan. It suits anyone mid-grow-out regardless of gray percentage. Expect two to three sessions spaced about eight weeks apart.
Tell your stylist: I am growing out old color and want foils placed to blur the line, not full coverage.
15. Heavy Gray Blend With Charcoal Lowlights
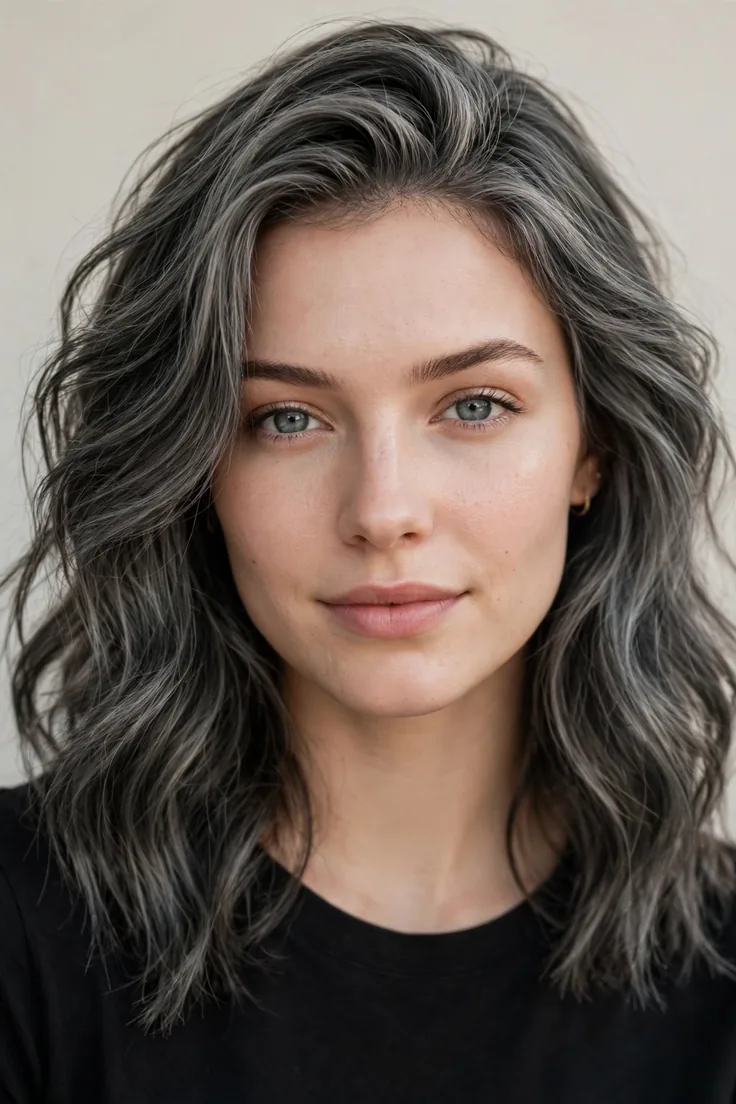
For 70 percent gray and above, where full silver is close but not quite there. Charcoal lowlights add shadow and shape so the silver looks dimensional instead of flat white.
You are nearly done growing out at this stage, so this is the last bridge, not a long-term routine. Maintenance is a tone every ten weeks. Tell your stylist: I am almost fully gray and want charcoal lowlights to add dimension to the silver.
16. Subtle Sprinkles With Fine Weave Foils
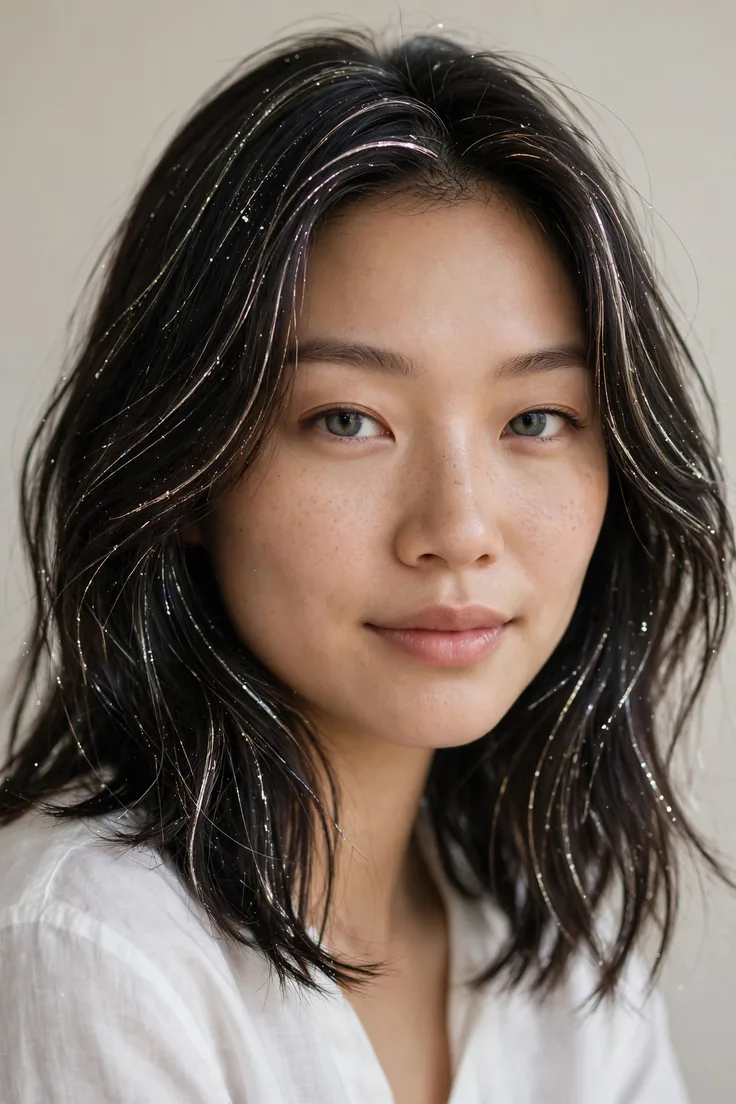
The lightest touch on this list, for under 20 percent gray. A fine weave of highlights so subtle that people will think your color simply looks better, not different. This is blending for people who are not ready to announce anything. Grow-out is essentially invisible.
Maintenance is twice a year, which is as low as it gets. Tell your stylist: I just want a fine weave of highlights to soften my first grays, nothing noticeable.
17. Dimensional Gray With Backcombed Foils
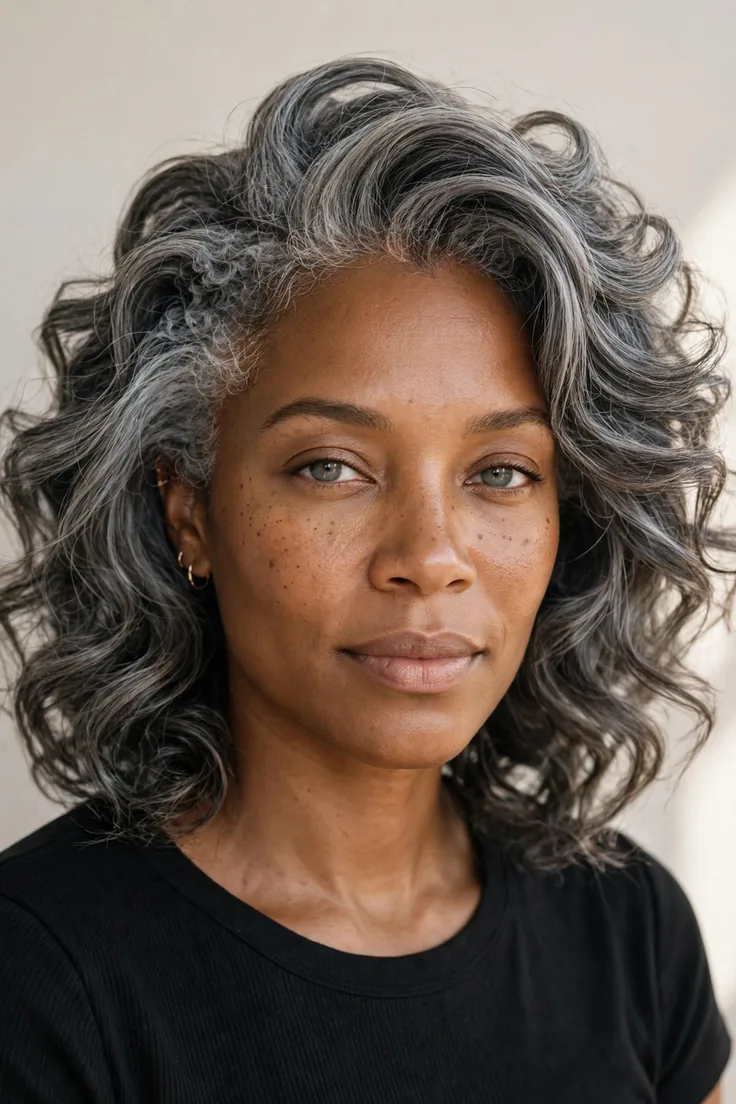
The stylist backcombs at the root before applying foils, which creates a diffused, lived-in blend with zero harsh lines. Here the technique matters more than the exact color, since the diffusion is what hides the regrowth.
Best for 30 to 60 percent gray. Grow-out stretches to three or four months without a visible line. Tell your stylist: ask for backcombed balayage foils for a diffused blend with no harsh regrowth line.
18. Grow-Out Friendly Root Smudge With Highlights
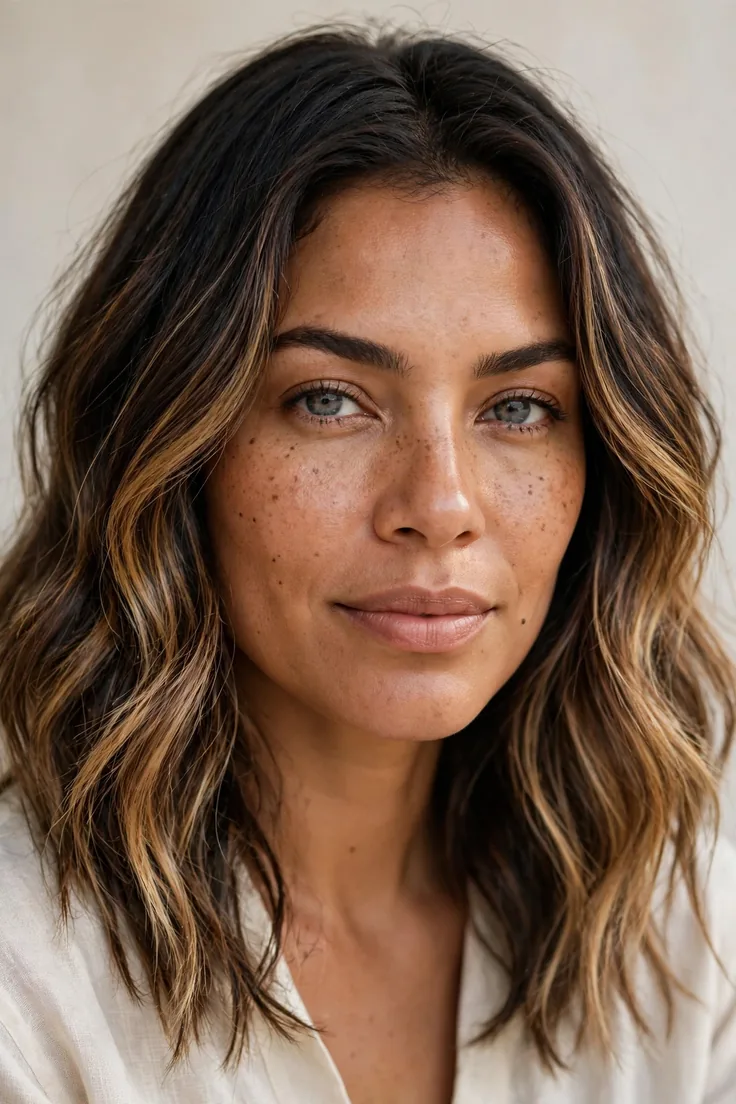
A root smudge deposits a semi-permanent tone at the scalp that fades gradually, while highlights through the lengths keep the overall brightness up. Because the smudge is semi-permanent, there is no line when it grows out, which is the entire point of choosing it.
Best for 25 to 45 percent gray. Maintenance is a smudge refresh every eight weeks, and it fades rather than growing out. Tell your stylist: I want a semi-permanent root smudge with highlights, something that fades instead of growing out with a line.
19. Full Transition Gray With Dark Lowlights

The final stop: mostly silver hair with a few dark lowlights kept in for shape and depth. Once you are here, the maintenance flips completely, you are now maintaining the silver rather than the dark.
Best for 80 percent gray and above. The routine is purple shampoo weekly, regular trims since gray ends are fragile, and a tone when the silver dulls. Tell your stylist: I am ready to go fully silver with just a few dark lowlights for dimension.
Conclusion
Gray blending is not about hiding your gray or surrendering to it. It is about controlling the transition on your own terms, at your own pace, with techniques that respect both your dark base and your silver. The right blend makes people ask what you did differently, not whether you colored your gray.
Start with your gray percentage, pick the technique that matches it, and bring the exact salon wording to your appointment. A prepared client gets a better blend every single time.
Want more gray blending ideas with highlights and lowlights explained? Follow ChromaMane on Pinterest and save this guide to your hair board so the salon wording is right there on your phone at your next appointment.
